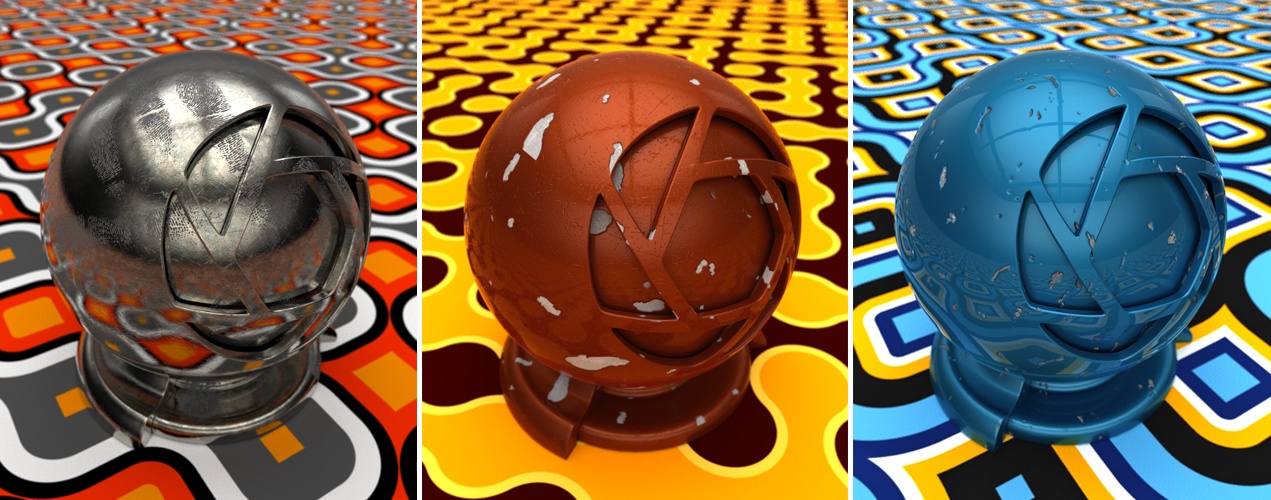
There’s nothing like getting your model a little dirty… or, shiny enough to reflect the light of 1,000 suns. Either way, KeyShot has you covered, quite literally, with labels. We’ve recently had some forum posts discussing labels and how they can be used to create different effects. Since labels can be layered and can use images with transparency, you can imagine how applying them to a material can add a lot of flexibility in achieving a specific look. Along with the ability to layer labels, you have additional options to control the intensity, contrast, refraction and specular highlight of labels. Here are two examples of how you can some fun with labels and create some mischievously awesome effects along the way.
Labels in KeyShot
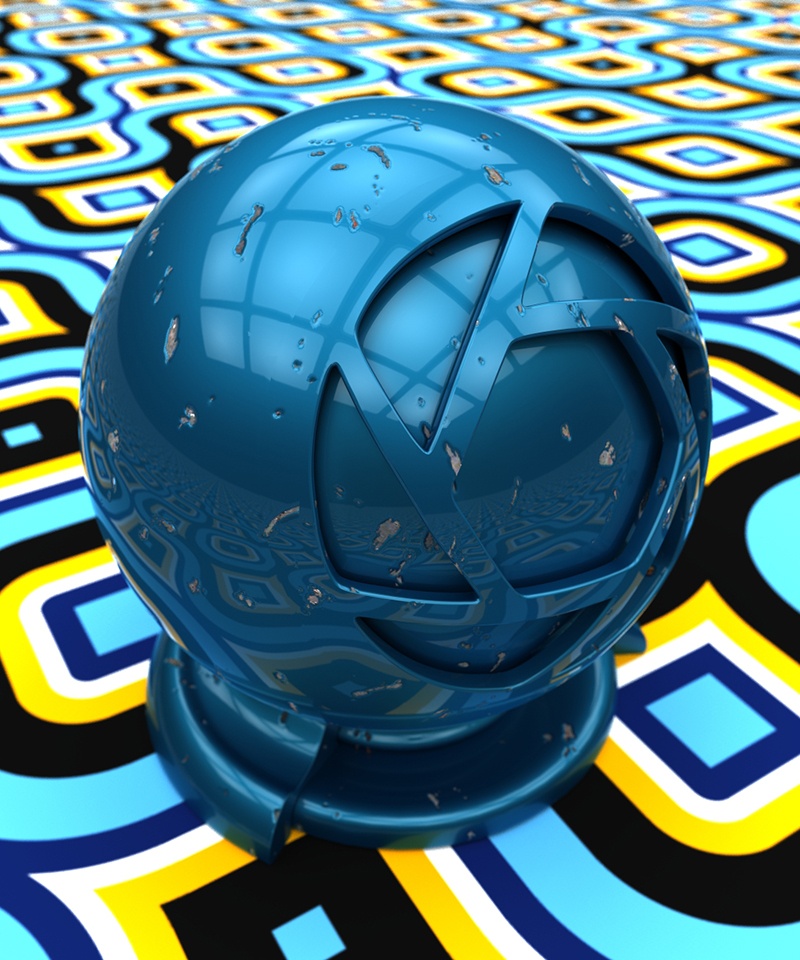
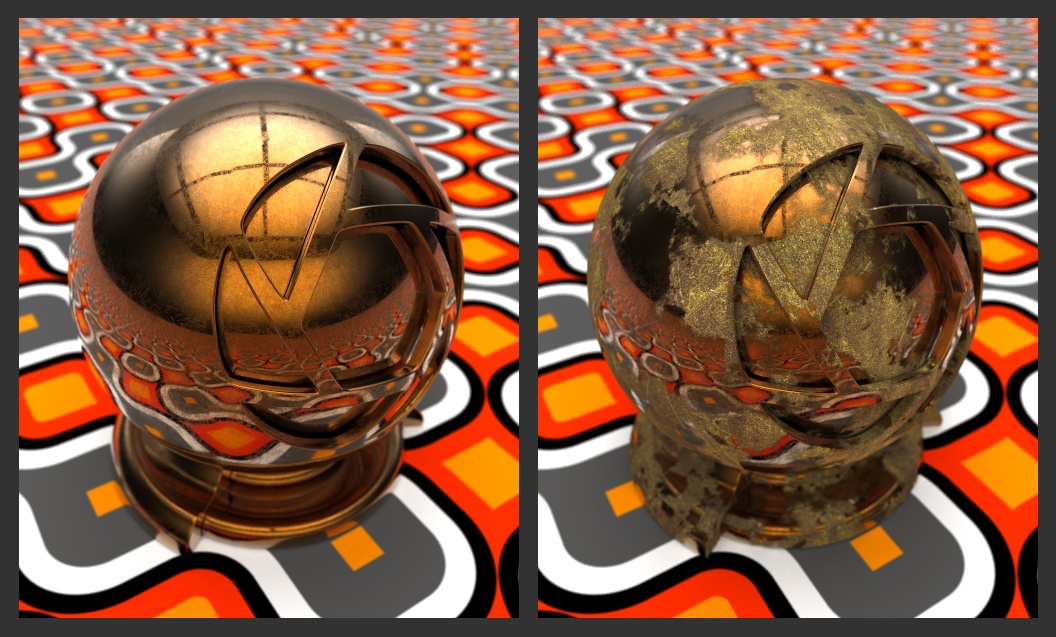
To get a better understanding of what labels are and how they work in KeyShot, you can watch this 5-minute (pop-up) Labels Tutorial. We also have some great quick tips on labels and mapping you’ll want to check out. In a forum post “Metal Master” John Seymour has been providing the experience of using KeyShot labels to create multi-layered materials. You can do this to an extent using a combination of Color, Bump and Opacity maps, but labels add both the layer ability and the additional appearance control. Here’s the first example he shared, showing the oject with a bump map applied (left) and the same object with a dirt/grime image (transparent .png) applied over the texture as a label. With the specular set to black, you eliminate any reflection on the label.
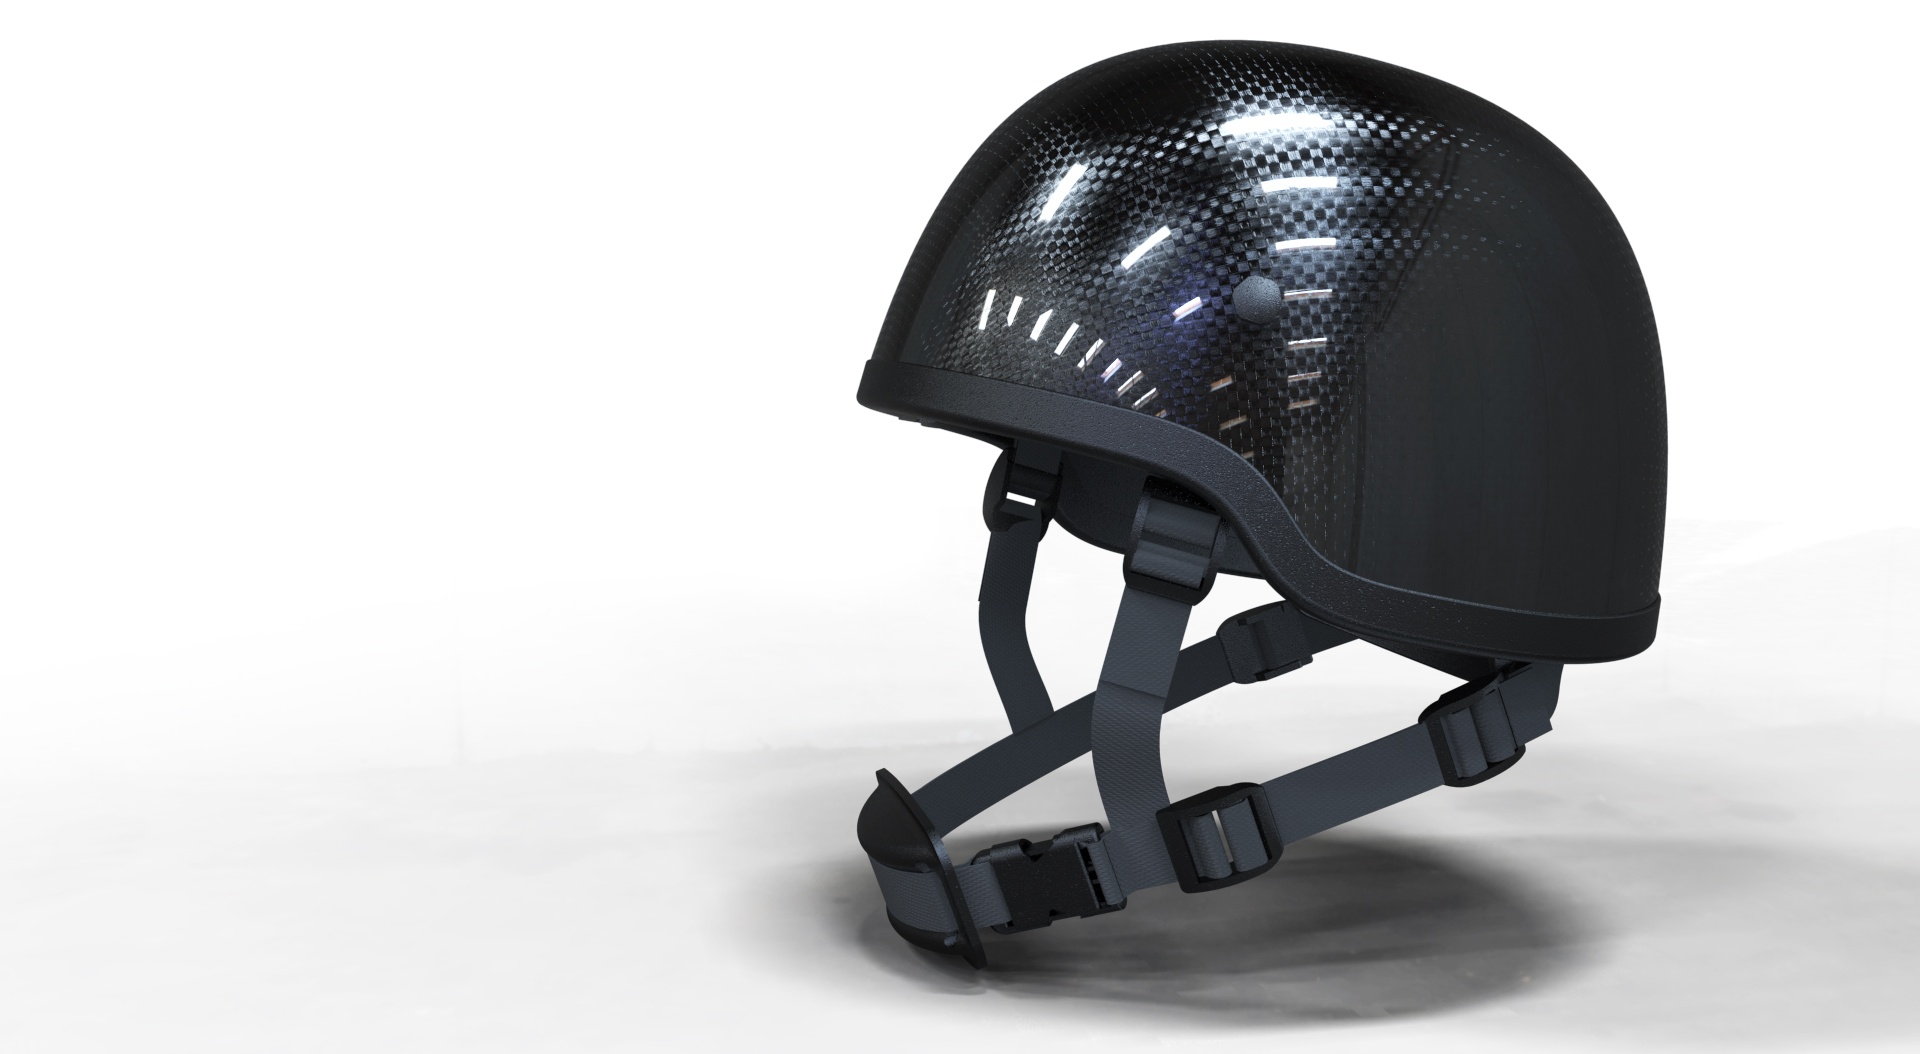
Of course, you have complete control over the reflection. You can adjust the amount of light transmitted by the label, increasing the refraction and setting the specular to a lighter color till you get the amount of shine you desire. A great application for this would be a clearcoat finish as in the example of this helmet rendered by Jeff McCartney. By adding a transparent white image as a label, you can set the image to repeat, then adjust the intensity, specular and refraction to get the desired effect.
John Seymour was kind enough to share an example file for a dented paint version of the KeyShot material ball using a bump map texture and a label applied with specular set to black, eliminating any reflection in the dented areas. You can download the file here (JohnSeymour_DentedPaint.ksp). There are many other effects you can get by using labels–paint effects, reflections, scratches, etc. Share what you’ve done in KeyShot on the Amazing Shots board. We would love to see what you create!