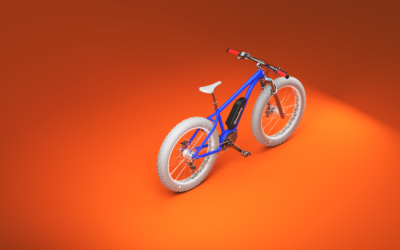
KeyShot exclusive Axalta’s coatings have been an incredible resource for renderings of all kinds. Whether transportation-related or product-related, the array of hot hues and other color options can add just the snap of color needed with a simple drag-and-drop.
Axalta Paint Flake Control
The Axalta Paint materials in KeyShot allow you to control both paint flake size and density. You’ll find these options in the material Properties for any Axalta Paint material, under the Advanced tab. Here, you can adjust the Refraction Index and Samples along with Flake Size and Flake Density.
The first slider, Flake Size, controls the individual size of each flake and can be adjusted from a value of zero millimeters (no flakes) to a value of 10 (large flakes). The second slider, Flake Density, allows you to control flake density from a minimum value of 0 (no/low flake density) to a maximum value of 1 (high flake density).
When applied, randomly distributed metal flakes appear which take on values that match the specular reflection and color of the underlying Axalta material, making some flakes appearing brighter or darker than others.
Now, if your goal is to create renders that match common finishes, there are some best practices to keep in mind. Let’s have a look.
Set Your Scene Units
First, ensure your model units are set correctly so they reflect real world proportions and reduce the chance you’ll experience discrepancies when adjusting your flake. If your scene units are incorrect, changes in flake size may not even be visible or you may encounter unexpected results when trying to match physical paint appearances. So, after you import your model, go to Edit, Set Scene Units and ensure your units are set to the same used on the model.
Use Standard Flake Sizes
The next thing to consider is using standard flake sizes to create the most realistic appearance. Typically, metallic flakes range in sizes between .02mm and .5mm. Accurately sized flakes on an accurately scaled model will produce the most realistic paint appearance and produce the best renderings possible.
If you use Denoise or the Firefly filter, make sure your setting isn’t set so high that it washes out the detail of the flakes and keep in mind that, with all denoise parameters, a little tends to go a long way – start with a small amount and work your way up from there.
You can learn more about the Axalta Paint material and other material types in the KeyShot Manual.
What Can You Create?
We would love to see what you create with this tip. Visit the KeyShot Amazing Shots forum to see what others are creating and share your own work. And if you have a suggestion for another tip share it in the comments below.


0 Comments