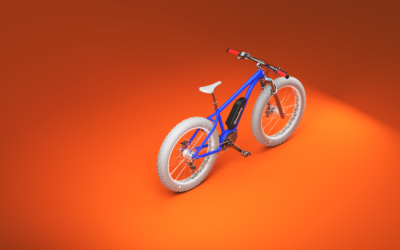
If you use SolidWorks to model up some sweet design, there’s an extremely easy approach to import SolidWorks models into KeyShot that will have you creating 3D renderings faster than you can imagine… even faster than setting up materials and using Photoview 360 to render your models. Here’s how to do it.
SolidWorks to KeyShot
All the colors your apply to the parts in your SolidWorks model will import into KeyShot. You can, however, make this process much faster with a little prep on the SolidWorks side.
1. Grab the SolidWorks to KeyShot plugin
First, grab the KeyShot SolidWorks plugin. It’s free and makes it a one-button snap to bring SolidWorks models into KeyShot. Now, the plugin certainly makes importing faster, but you can simply import .sldprt and .sldasm files directly into KeyShot. And guess what? With KeyShot 3, you can do this on both PC and Mac.
2. Use standard colors for your standard parts
More than likely you have standard colors that you use for your parts. If you do, you’re all set and KeyShot will import those parts with the colors you have applied. If not, a simple color chart can be used to reference materials. Something as simple as grey for hardware, brown for wood, and so on.
3. Use the Display Pane to set colors
When you need to set colors fast in SolidWorks, use the Display Pane in the FeatureManager sidebar. This will allow you to see and select parts/bodies much quicker. After selection, simply select Edit, Appearance, Appearance… from the pull down menu (or Edit Appearance – the multi-colored ball – from the Heads-up display menu.)
SolidWorks to KeyShot Tips
- If you want a representative color to show in KeyShot, use colors in SolidWorks instead of SolidWorks Materials (Appearances)
- For part files, apply different colors to geometry (bodies) you want to be able to change material/move/scale
- For assembly files, apply colors at the part level for best results
- Colors applied at the part level will override those at the bodies and face level
- Colors applied at the assembly level will override those at the part level
- Change an imported SolidWorks part to an Emmisive material to create a light in KeyShot. Deselect Visible to Camera in the advanced material options to hide it.


0 Comments