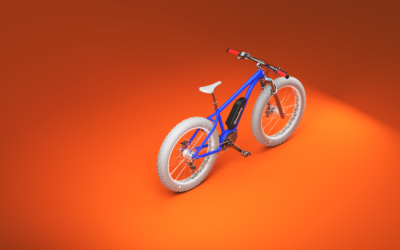
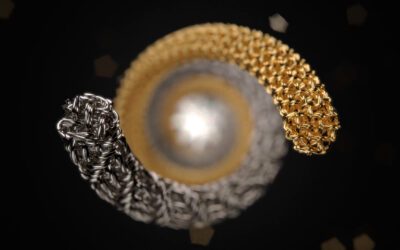
While it seems like surface dust doesn’t belong in a product shot, some like the added realism a little surface dust provides. There are quite a few ways to add surface imperfections to your KeyShot scene. Some are quick, simple and to the point, while others are more involved, requiring many nodes within the KeyShot Material Graph. Today, we’ll show how to do this using the Material Graph in KeyShot Pro.
Adding Surface Dust in KeyShot
Using textures to add surface dust is a great starting point to create a more complex and intricate surface appearance for your future KeyShot projects. A subtle amount of dust can provide just enough realism to the product shot to make it look more convincing while a lot of dust can be used to create a truly weathered appearance. With this technique, you can do the same for adding other types of imperfections to surfaces as well. Let’s get into it.
To get started, open a model or download the one above to experiment with and get a closer look at the Material Graph. Next, select the surface you’d like to add dust to and open the Material Graph from the Project window, Material tab.
1. Add a Layer for Dust
Right-click the Material Graph workspace, go to Materials and select Diffuse from the menu. Then, connect the Diffuse node to the Label input of your parent material. Now, change the Diffuse layer Color to something a little closer to white. This is going to be the color of your dust, so pick a color or value that works best for you.
2. Add Opacity Map
At this point, we’re essentially going to mask out parts of the Diffuse layer to create a dust-like effect that will sit on the screen surface. To do this, right-click on the Material Graph workspace again and select Spots from the Textures menu and attach it to the Diffuse (dust layer) Opacity input. With the Diffuse node selected, hit the C-key to enable the Color preview.
Isolating a texture using the C-key to activate the Color preview makes viewing your texture as you make edits significantly easier! Add it to your normal workflow if it isn’t already.
3. Adjust the Scale
So, in the Spots texture Properties, adjust the Scale value of the texture to something that looks accurate to the model. This will vary based on your individual scenes and model, so adjust as needed. For a subtle surface dust appearance, you’ll want a somewhat uniform, white noise type effect.
4. Invert the Colors
Next, change the Spots Color to white and the Background Color to black. When using Opacity in KeyShot, black is hidden while white is visible. The base layer of your dust material is complete. Next, we’ll mask some of the dust to look less like white noise and more like a dusty surface.
5. Add a Color Composite Node
First, add a Color Composite node by right-clicking the line between the Spots and Diffuse nodes and selecting Color Composite from the Utilities menu. Next, go to the Library, Textures tab and drag-and-drop the Dusty Painted Metal texture into the Material Graph. Then, connect it to the Background input of the Color Composite node. Finally, change the Color Composite Blend Mode to Multiply.
6. Add a Color to Number Node
At this point, you may notice that little has changed with the base dust layer. That’s because the texture map is predominantly white and, as mentioned earlier, black hides the material and white allows the material to show. So, to get the effect we want, right-click on the line between the Dusty Painted Metal Texture Map and the Color Composite node to add a Color To Number node. Hit the C-key again to isolate and preview the node. Next, make adjustments to the Input and Output parameters until the desired dust coverage is achieved.
7. Apply to Other Surfaces (Easily)
Now, that may seem like a lot of work but you now have a material you can apply to any other surface. To easily apply the dust to other surfaces in your scene, shift-click and select your Diffuse material along with all the nodes you just created, right-click and select Copy Selection. Now, open up the Material Graph for other materials, right-click and select Paste, and attach the Diffuse node to the Label input.
Again, this is by no means the only way to create dust effects in KeyShot but it is one way that offers a lot of flexibility and allows you to stack different textures to create even more realistic dust-covered surfaces. You can learn more about the Material Graph in the KeyShot Manual. If you’re interested in trying KeyShot Pro, just visit portal.keyshot.com/try/keyshot.
What Can You Create?
We would love to see what you create with this tip. Visit the KeyShot Amazing Shots forum to see what others are creating and share your own work. And if you have a suggestion for another tip share it in the comments below.


0 Comments