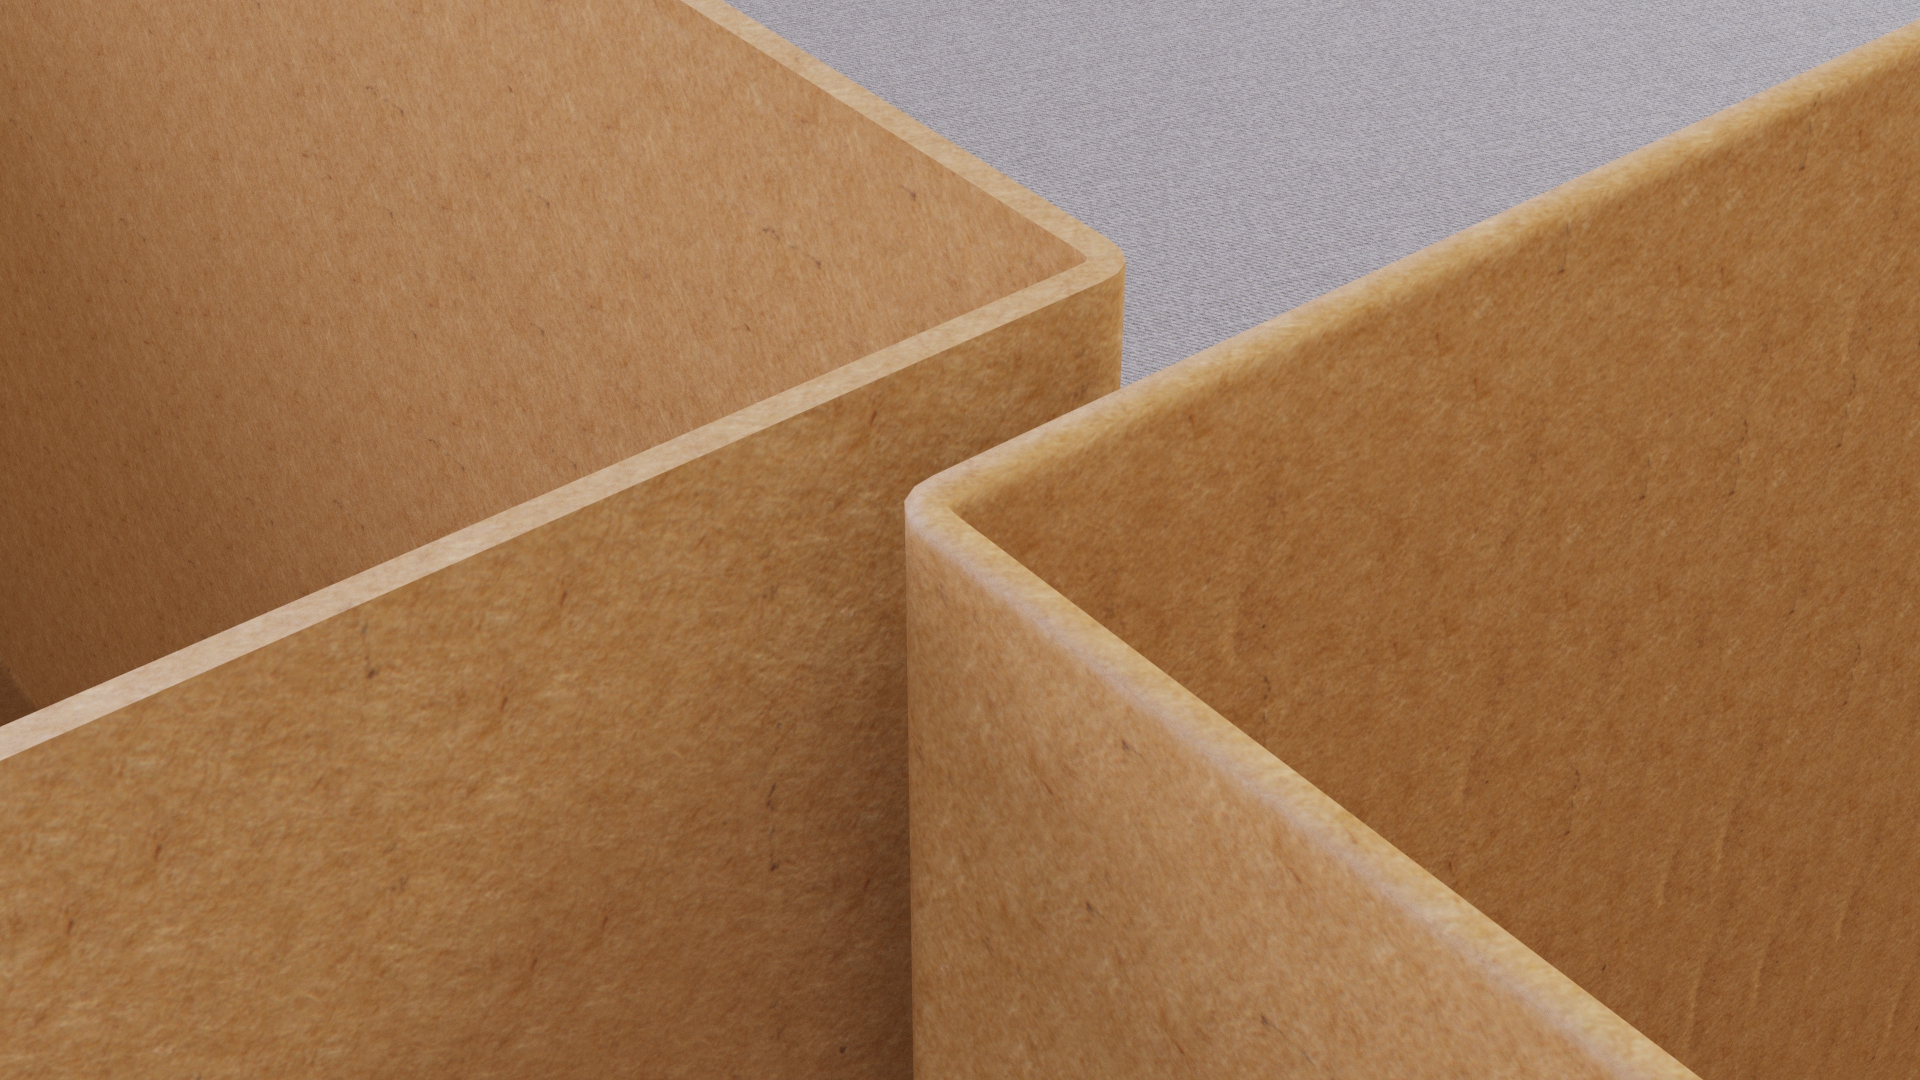
Today, we’re going to explore the Rounded Edges tool in KeyShot. This is a handy feature that simulates fillets on parts, without actually altering the geometry and increasing the triangle-count.
Adding Fillets in KeyShot
Rounded edges on parts definitely add to the photorealism of an image, so if you’re not adding fillets in your modelling software, then definitely add them here in KeyShot.
 Rounded Edges Settings
With a part selected, you can find the Rounded Edges feature in the Scene tab of the Project panel. Here you’ll see a Radius slider and a Minimum Edge Angle slider.
The Radius slider is unit-aware to your set scene units, so generally it is best to keep this value pretty low.
The Minimum Edge Angle slider allows you to limit Rounded Edges to corners greater than the set degree value. So if I have this set to 30 degrees, then only corners greater than 30 degrees will see the effect.
Just be aware that the Rounded Edges tool will apply the effect to all instances of a part. For instance, if you duplicate a part with a Rounded Edges already set and adjust the Radius slider, both parts are affected. Think of them as being linked. You can break this link between instances by using one of the Geometry Tools to change the radius on parts independently.
You can learn more about the Rounded Edges in the KeyShot Manual. If you’re interested in trying KeyShot Pro, just visit portal.keyshot.com/try/keyshot.
What Can You Create?
We would love to see what you create with this tip. Visit the KeyShot Amazing Shots forum to see what others are creating and share your own work. And if you have a suggestion for another tip share it in the comments below.
Try KeyShot Pro Today
Interested in trying KeyShot Pro?
{{cta(’59af548c-70be-400b-9c3b-1a2216189c84′)}}


