One of the quickest and easiest ways to give your product or vehicle renderings more realism is to add presence in your scenes by setting them on a surface and adding a nice shadow or ground reflection.
You may have used KeyShot geometry, a table or podium model, or even a duplicate of the object itself to showcase the product on what appears like a real-world surface. But hands down, the easiest way achieve that effect is to add a Ground Plane. Let’s take a look at how to do so and how to work with them.
The 240K GT model is created by Karol Miklas. The original model may be downloaded at https://bit.ly/3uBiutH The KeyShot scene may be downloaded from KeyShot Cloud. Note: Model has been modified in KeyShot. Multi-Materials have been applied to the vehicles body and all other surfaces have received new materials in KeyShot. Parts are now labeled in the Scene Tree and some geometry has been removed.
Add a Ground Plane
To add a ground plane to your scene, simply click on the Edit on the main menu, select Add Geometry and choose Add Ground Plane from the menu, or use the Ctrl+G hotkey to add it quickly.
If there are Library Models you add to your scene regularly, you can assign a hotkey to add them more quickly. You can update the hotkeys under Edit, Preferences, Hotkeys or, in the Library, Models tab, right-click on the model, select Assign Hotkey, and choose the one you would like to use.
Once selected, the ground plane will be added to your scene. You may not see it but, don’t worry, it’s there. In the Project window, select the Scene tab, then select the Ground Plane under the Model Sets. You’ll see an orange outline appear around the edge of the ground plane in the Real-time View.
At this point, you may also notice that shadows and ground reflections appear no different than before adding the geometry. Let’s look at two ways to change that.
Add a Material to a Ground Plane
A common method is to apply a material that has the qualities you’d like for a ground surface. For instance, when you add a rough black metal material you’ll see a nice, diffused reflection on a neutral-colored surface. From this point, adjust the ground material as you would any other material in KeyShot.
Depending on your camera angle, this can create a horizon line in your scene which may or may not be desired. If you prefer a seamless ground plane you can adjust the camera angle, increase the size of the ground plane, or adjust the ground plane material settings.
Adjust Material Properties of a Ground Plane
For this method, double-click the ground plan in the Real-time View to view the Material properties in the Project window.
Adjust Specular Color
Click the Specular color and change it from black to white. You should see a reflection of your model appear on the ground plane’s surface. Next, adjust the Reflection Contrast slider from 0 (a very faint reflection) to 1 (a very defined reflection).
Adjust Roughness
Once you have a desired appearance, adjust the Roughness slider to diffuse the model’s reflection, if desired. Generally, even highly reflective surfaces have a little texture, so unless you’re trying to make your object look like it is sitting on top of a mirrored surface, it’s a good idea to give the ground surface a small amount of roughness. On the other hand, if your goal is to create a more emphasized shadow, you can crank up the roughness to diffuse the reflection to a point where it is unrecognizable and appears more shadow like.
Adjust Refractive Index
You can also adjust the Refractive Index to increase or decrease the amount highlights/colors are picked up in the ground’s reflection. Increasing this will make the colors more pronounced.
Clip geometry below ground
The Clip geometry below ground option will ensure any geometry below the ground plane is not visible. While this is generally not needed for most product renders, the is often used on automotive images to clip the tires and provide a more realistic appearance of tire compression. Without this, you would see a portion of the tires below the ground plane.
Activate Ground Illumination
It’s also good practice to activate Ground Illumination so light is reflected off the ground back onto your model in a more natural way. To do so, simply click the checkbox.
But wait, there’s more…
At this point, your scene should have a ground shadow and/or reflection that makes your model pop, but there are a couple more tips to share.
One advantage of the second method above is the ability to seamlessly blend a background. Whether you use an HDRI, a solid background color, or a backplate image, this method allows you to quickly and easily make your models fit naturally into any environment of your choosing. Then, you can add multiple environments to explore your model under different lighting and background conditions.
Lastly, if you use KeyShot Pro, you have the ability to jump into the Material Graph and add textures to the ground plane as you would any other material. Give it a try to explore some of the different texture options within the graph and add some interesting effects or a bit more realism to your scenes.
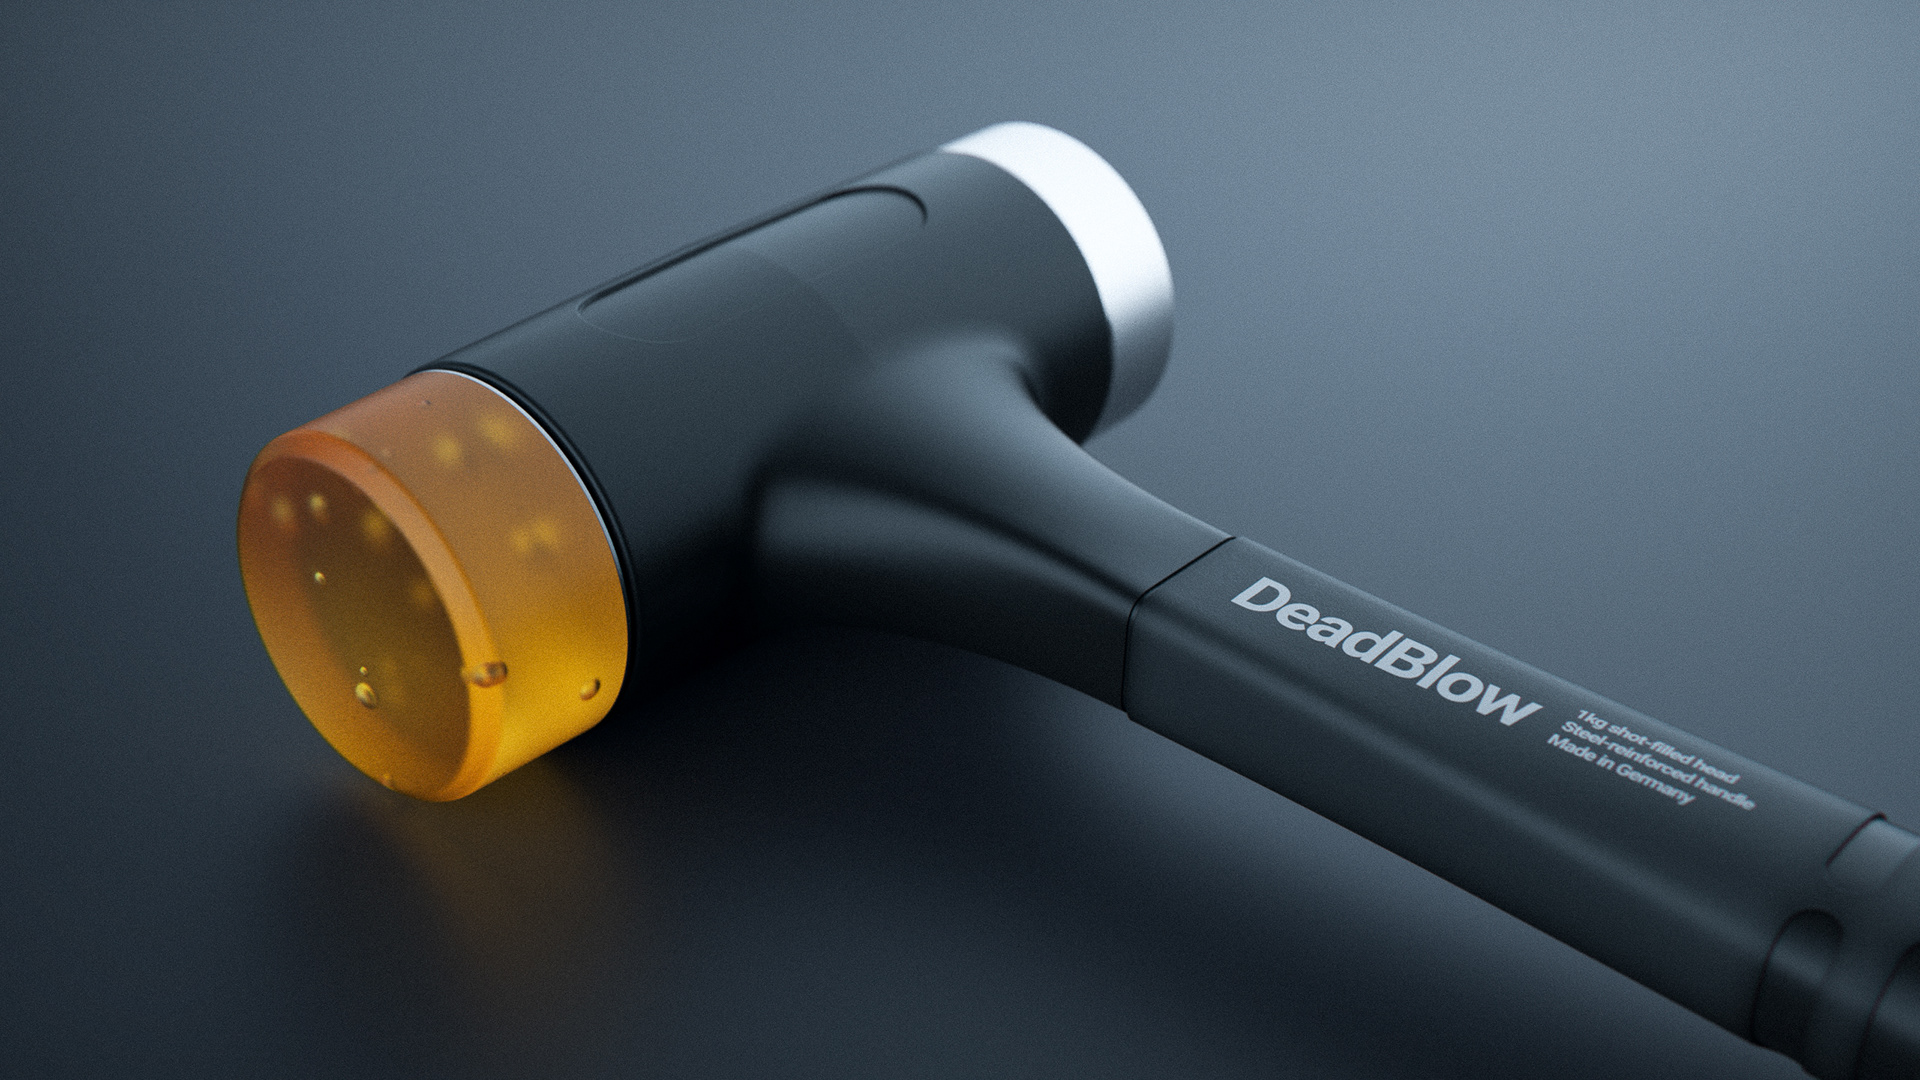
Image: Calvin Henderson

Image: Sam Gwilt
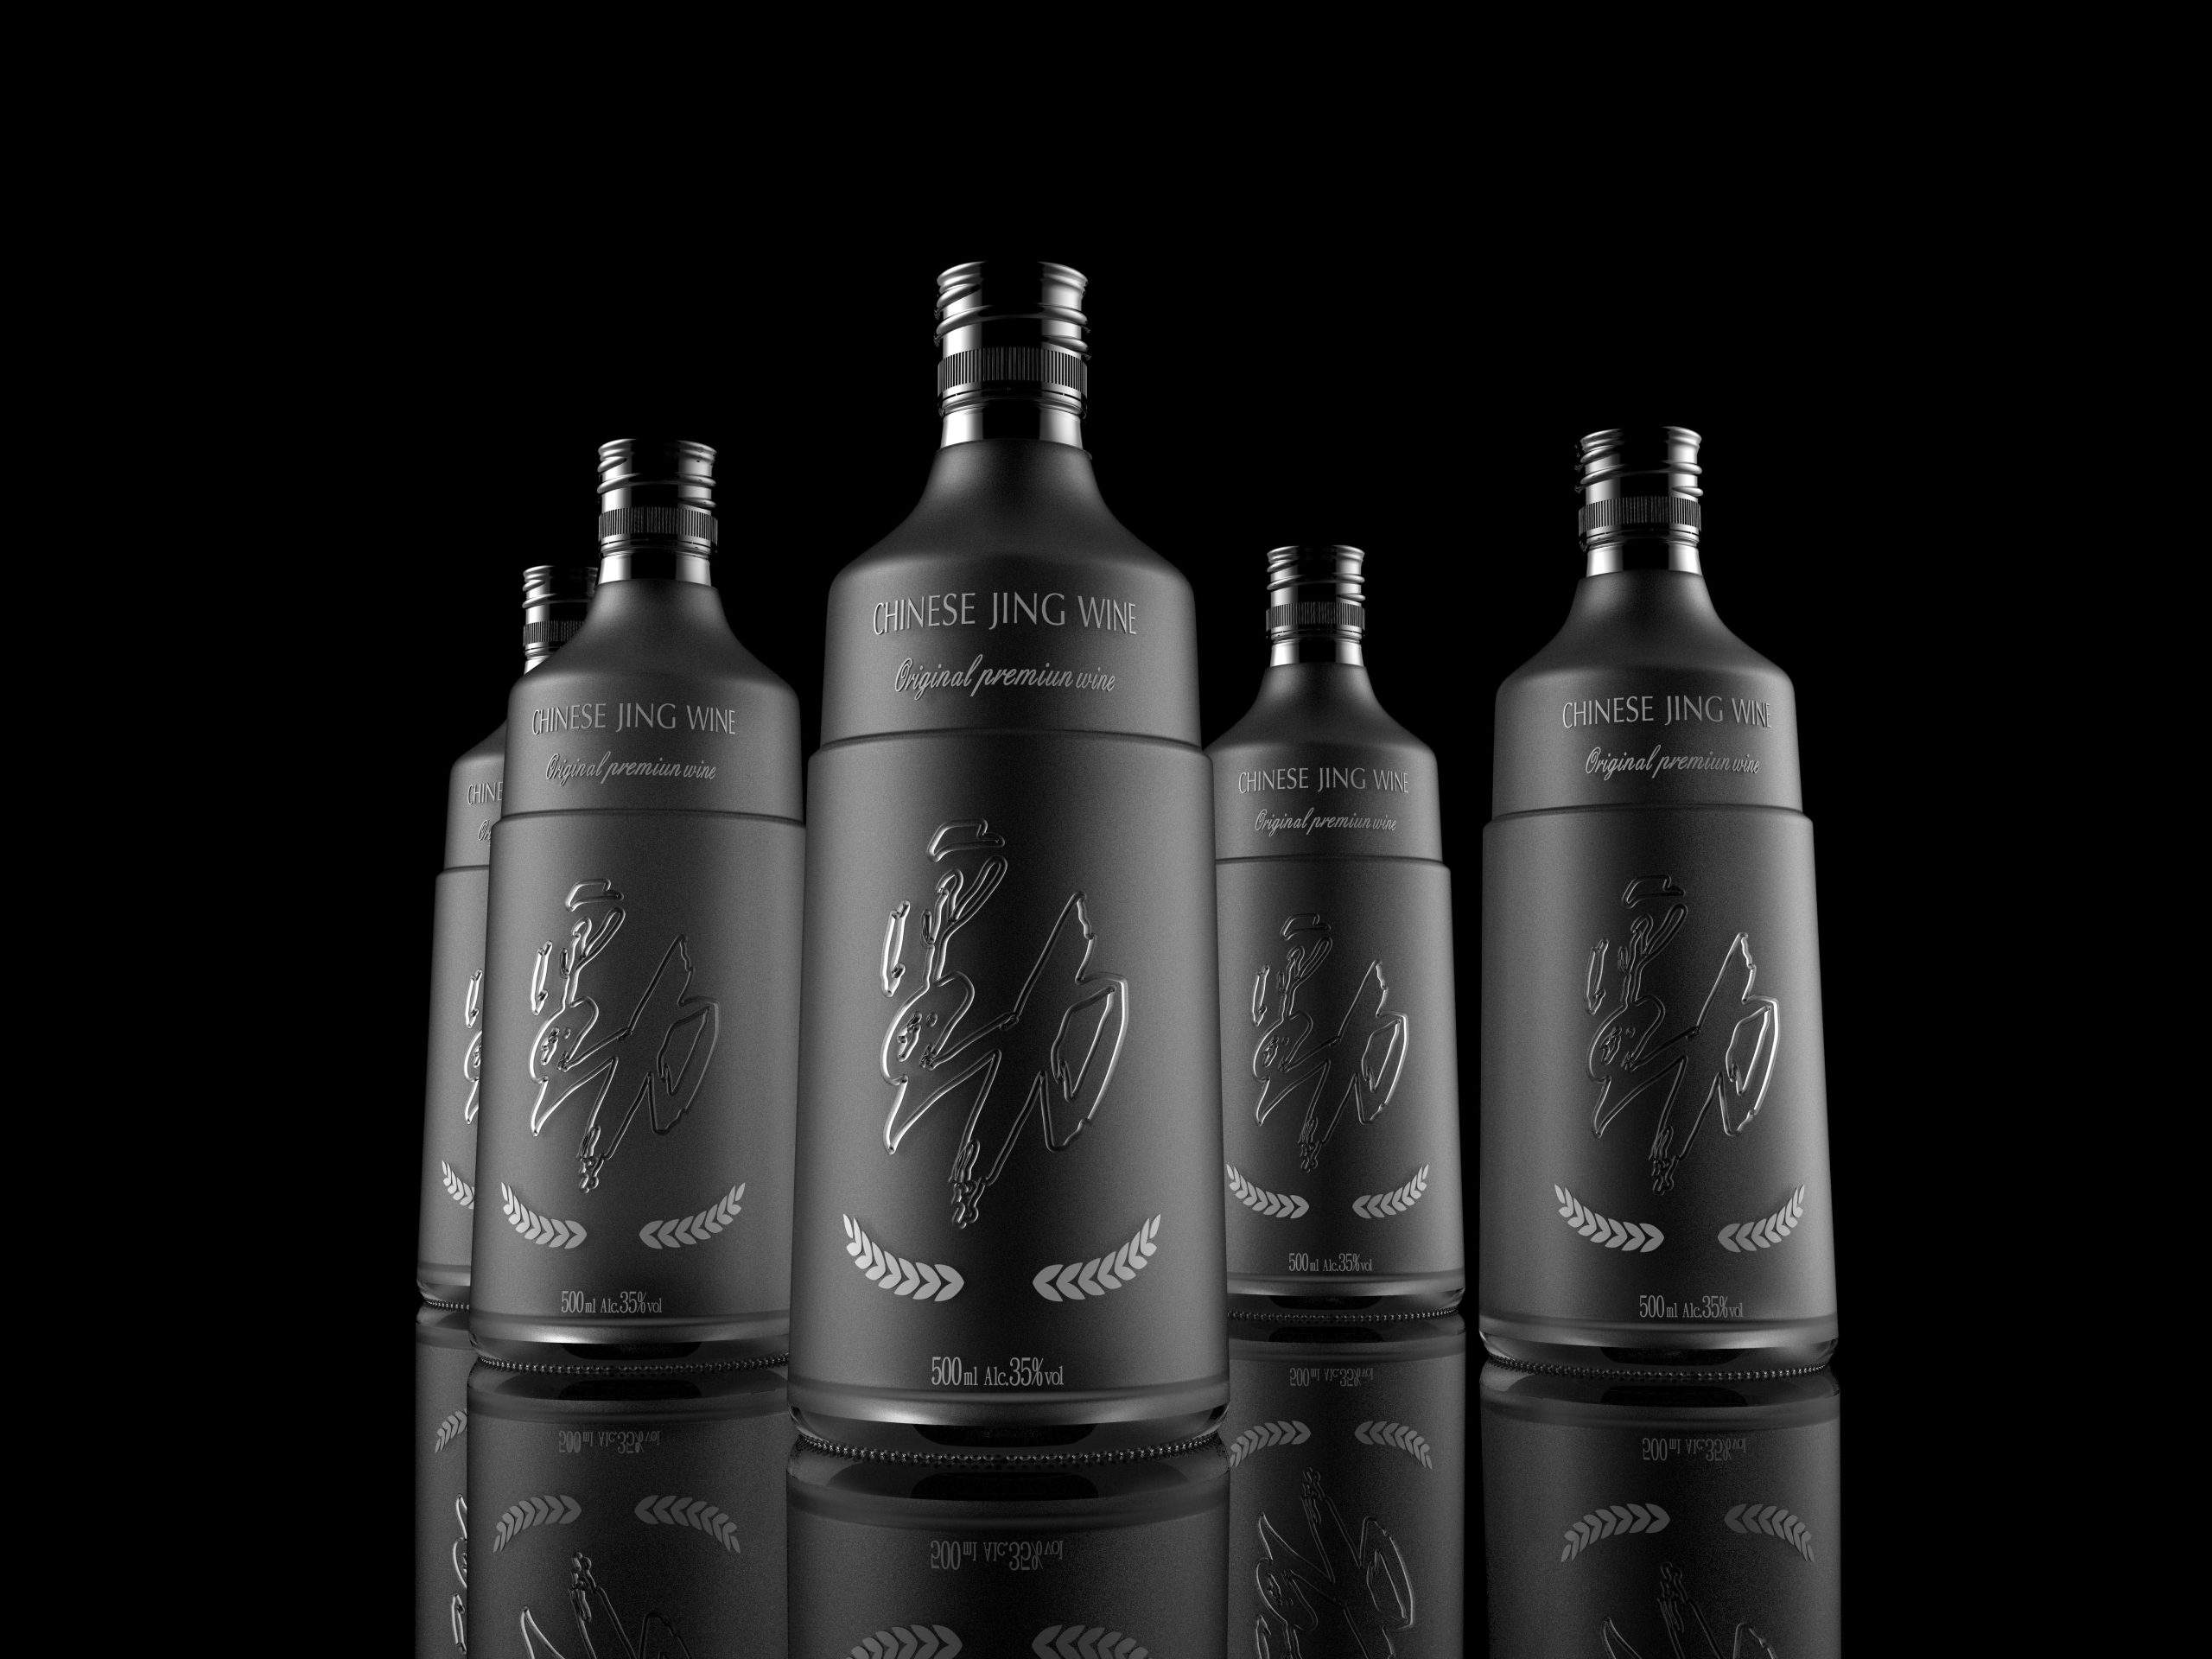
Image: Epoyliu
What Can You Create?
We would love to see what you create with this tip. Visit the KeyShot Amazing Shots forum to see what others are creating and share your own work. And if you have a suggestion for another tip share it in the comments below.






0 Comments