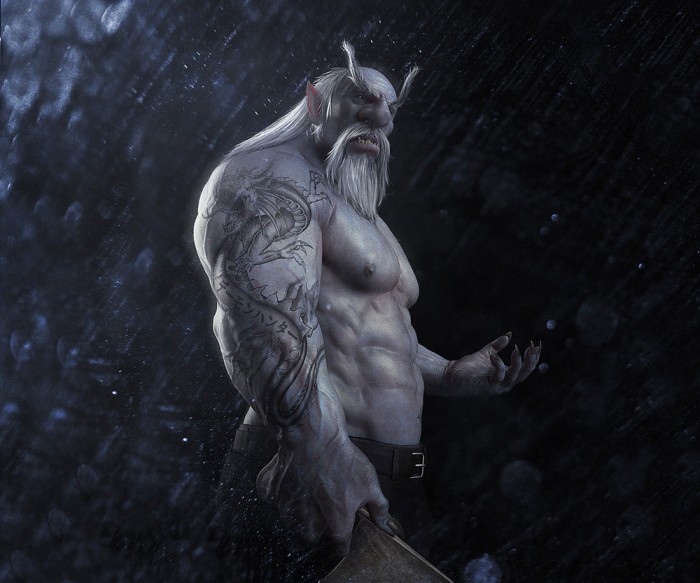
We are loving all the ZBrush creations rendered in KeyShot that people are sharing. We’re beginning to see more and more tutorials showing KeyShot used in the process of creating these rich visuals. Tutorials like this one from Brahim Azizi that takes you through the steps of how he created the render of his image, ‘Demon Hunter’, and provides a little insight into why he chose KeyShot to render the scene.
“This was the first time I’d used KeyShot in a project like this, as I used to work with Maya/mental ray, but wasn’t all that good when it came to parameters and render options. KeyShot allows you to put more focus on the artistic side more than the technical side, and is very easy to use, which is a good thing because all you want is your final image to look great.”
I imported my model in a high subdivision level with the maps, as KeyShot can handle huge amount of polygons and still works really well.”
With a quick import, so preset materials and the addition of a couple lights, he was able to create the look he wanted.
“For the shading I used Translucide (Human Skin 2) material for the body and did some edits (translucency, specular, contrast, luminosity etc) to get a convincing look while looking at some references. For the lighting I used the two Panels and rotated them to get a back and fill light.”
You can read the entire review on the 3D Total website here.





0 Comments