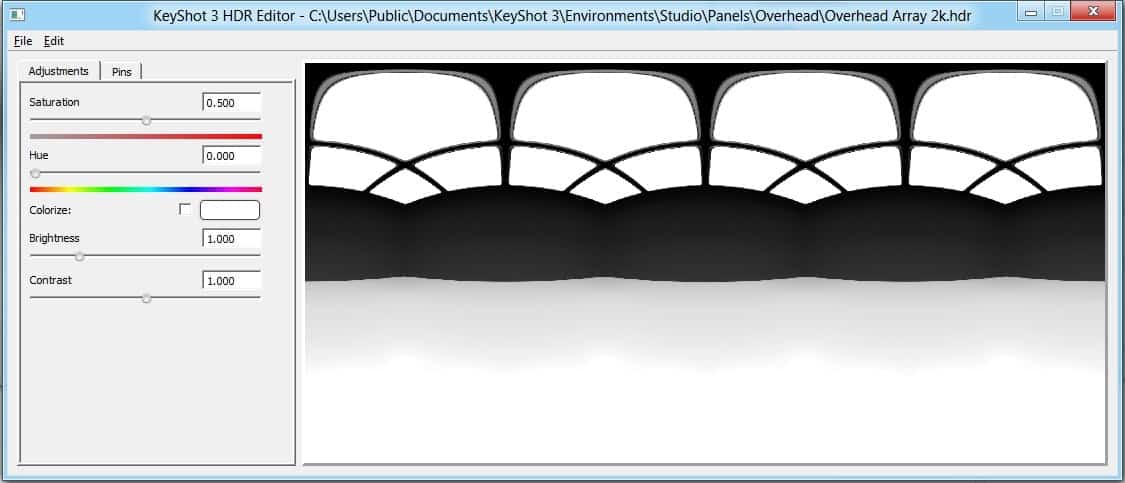
Perhaps the most substantial new feature to KeyShot 3.1 is the addition of the Realtime Environment Editor. Dare I say, it’s magical? I do. It’s magical. With a click of a button you can edit any environment, adjusting hue, saturation, brightness and contrast with options to add and customize lights while seeing all the effects happening in realtime. Here’s a look at the new Environment Editor in KeyShot 3.1.
Realtime Environment Editing
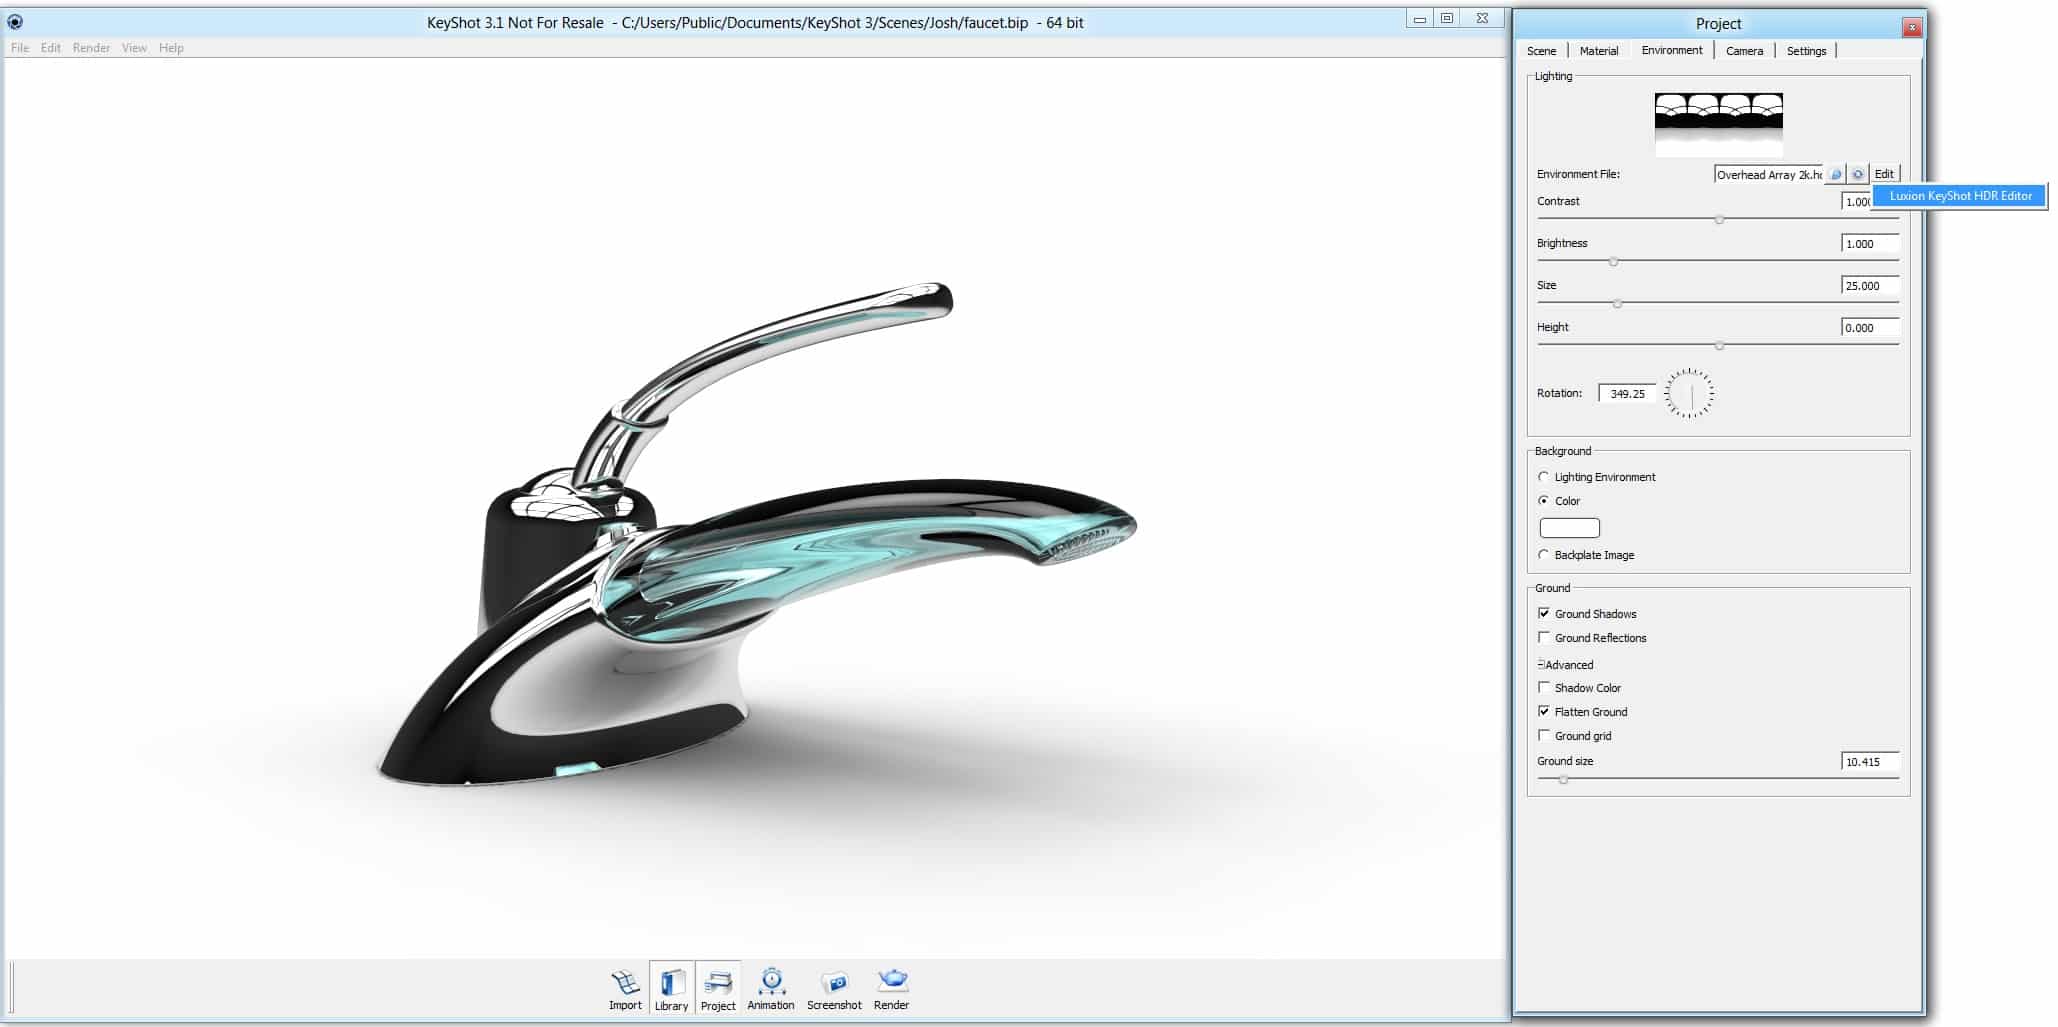
The Environment Editor is completely integrated within the KeyShot Pro software. No plugins or additional purchase is required. The Environment Editor is accessed from the Environment tab in the Project Window. You’ll see an ‘Edit’ button just to the right of where you load the Environment file.
The Editor
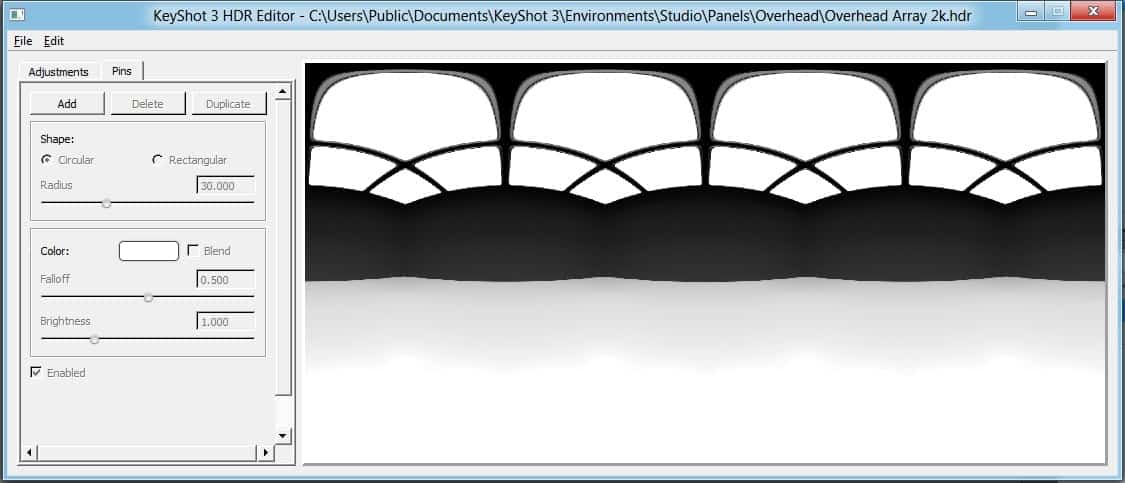
After you open the Editor, you’ll see two tabs and a Preview window. The two tabs are:
Adjustment – The Adjustment tab allows for Saturation, Hue, Brightness and Contrast adjustment with an additional option to Colorize the environment with a single color.
Pins – Pins are lights. This tab allows you to add different shapes of lights, adjust their size and the falloff, brightness and color.
Editing the Environment
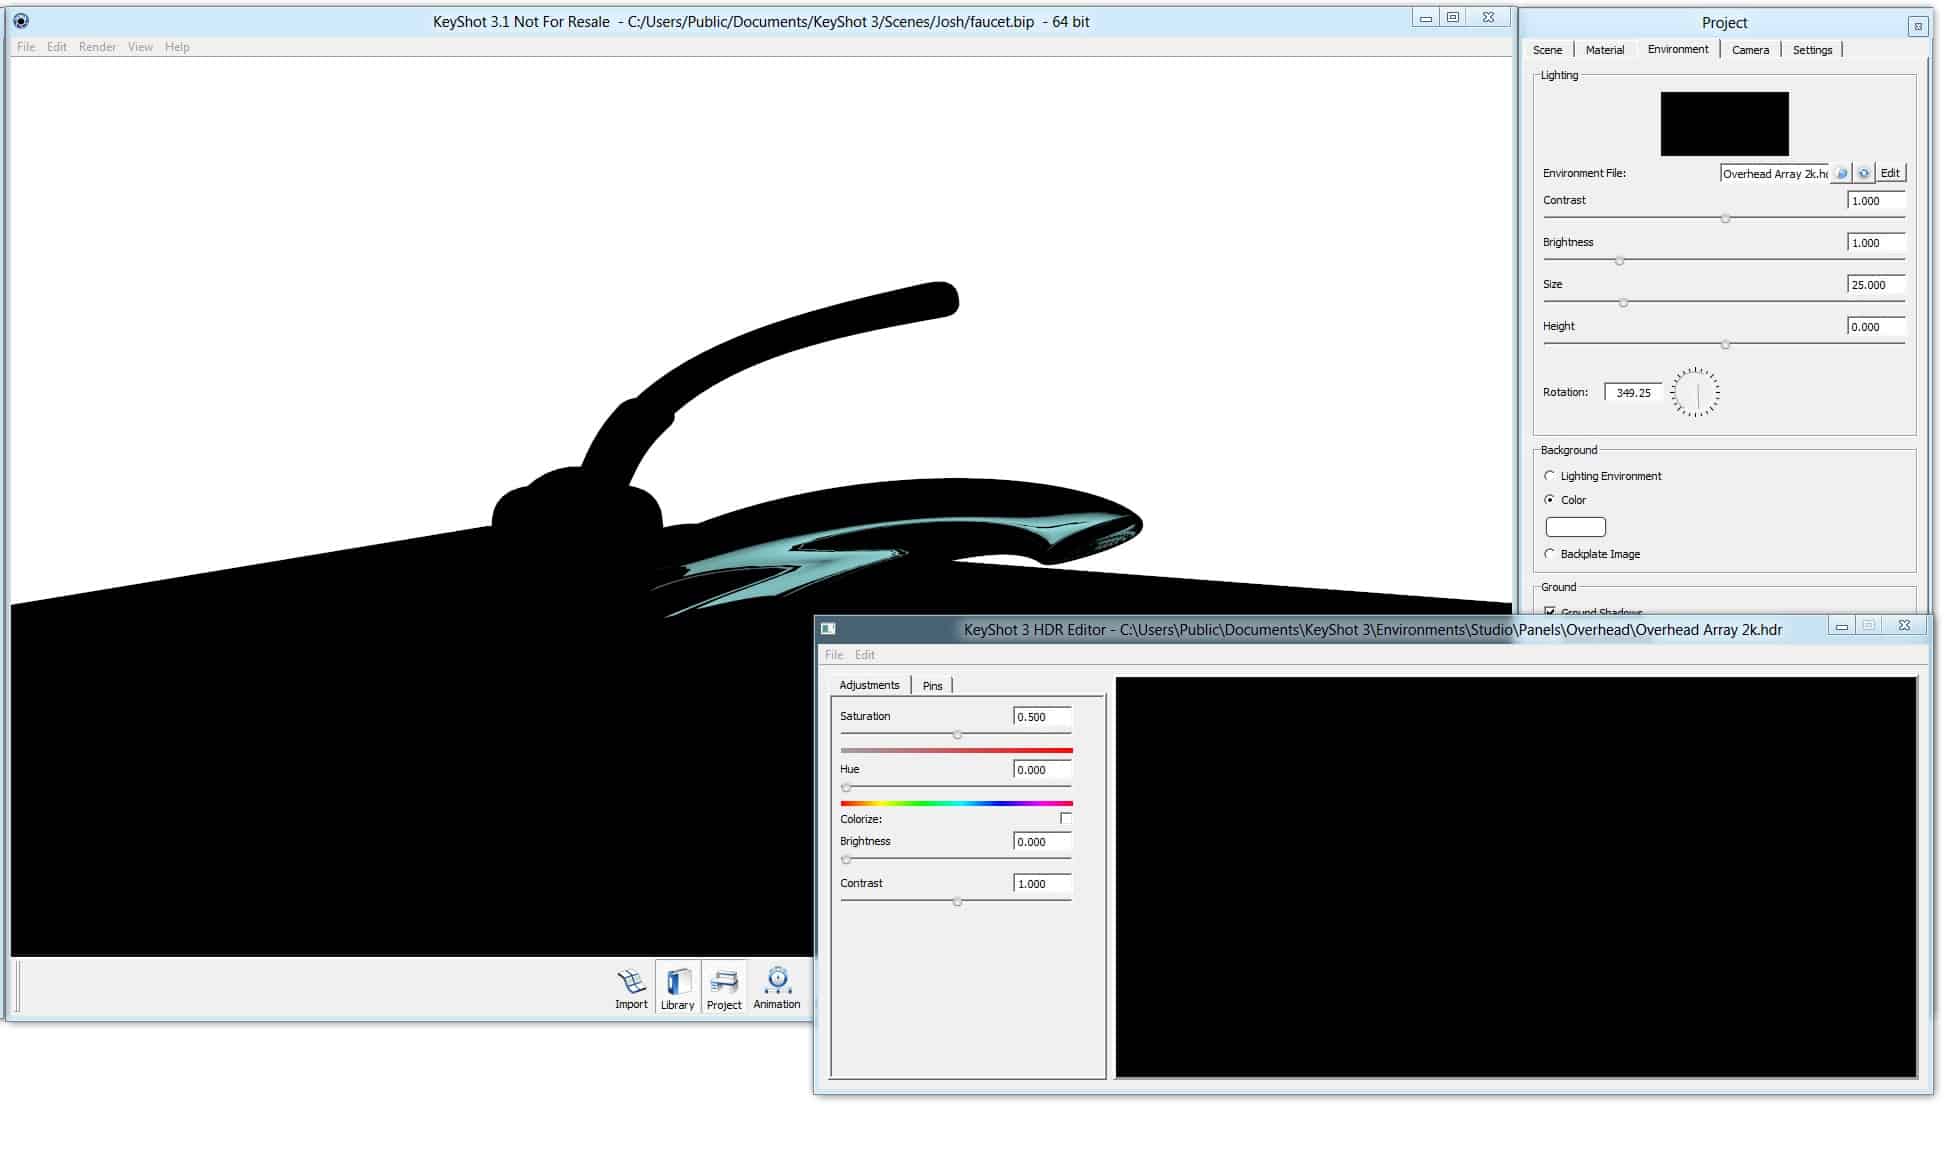
You can start with either tab. To create a completely blank HDR, drop the Brightness down to 0. The HDR (and the realtime view) will go completely black giving you freedom to create a custom HDRI.
Add a pin by selecting ‘Add’. Change the shape by selecting Circular or Rectangular. The ‘Pin’ in the middle of the light will be highlighted allowing you to edit any of the properties.
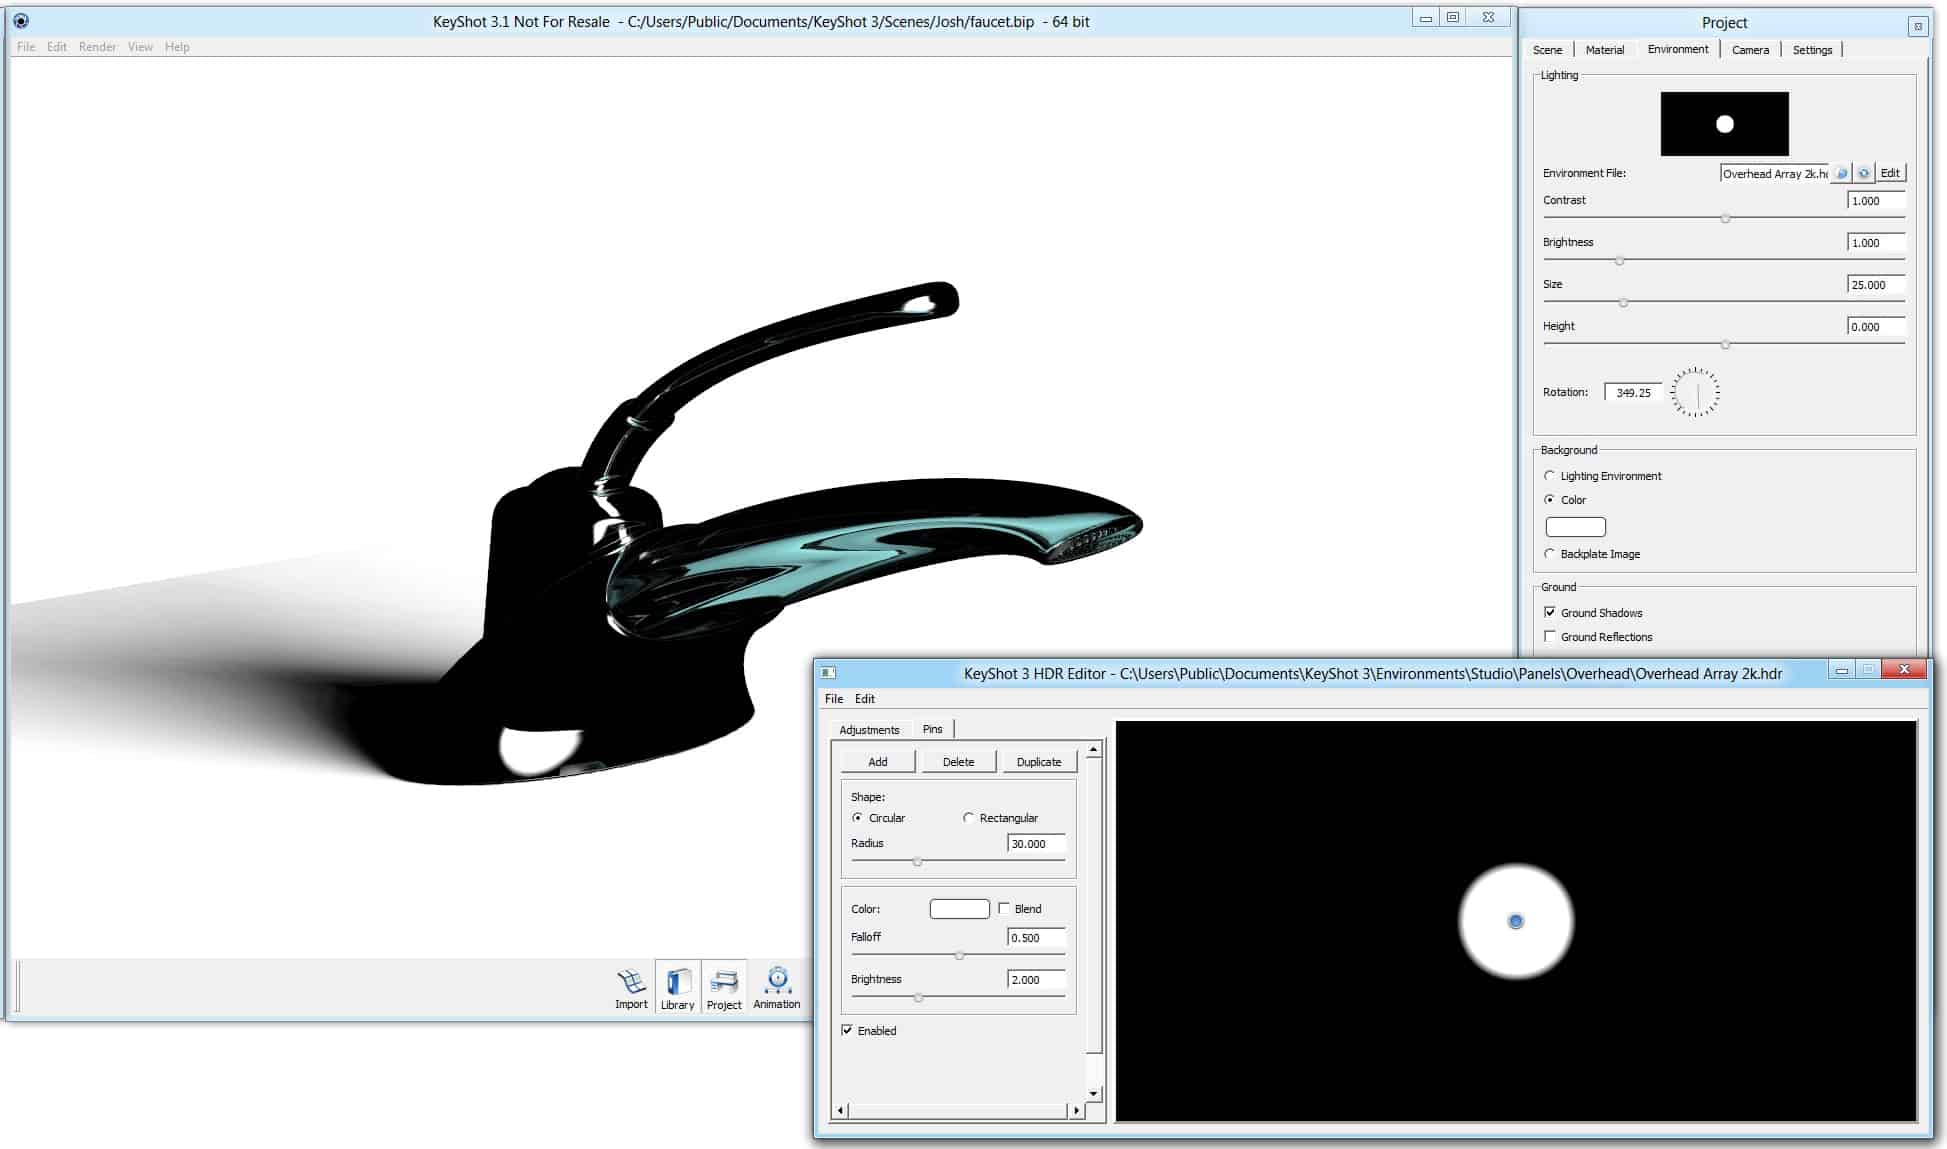
Add additional light to get the look you’re going for. TO save the HDRI, select “File, Save…” You now have your first custom HDRI.
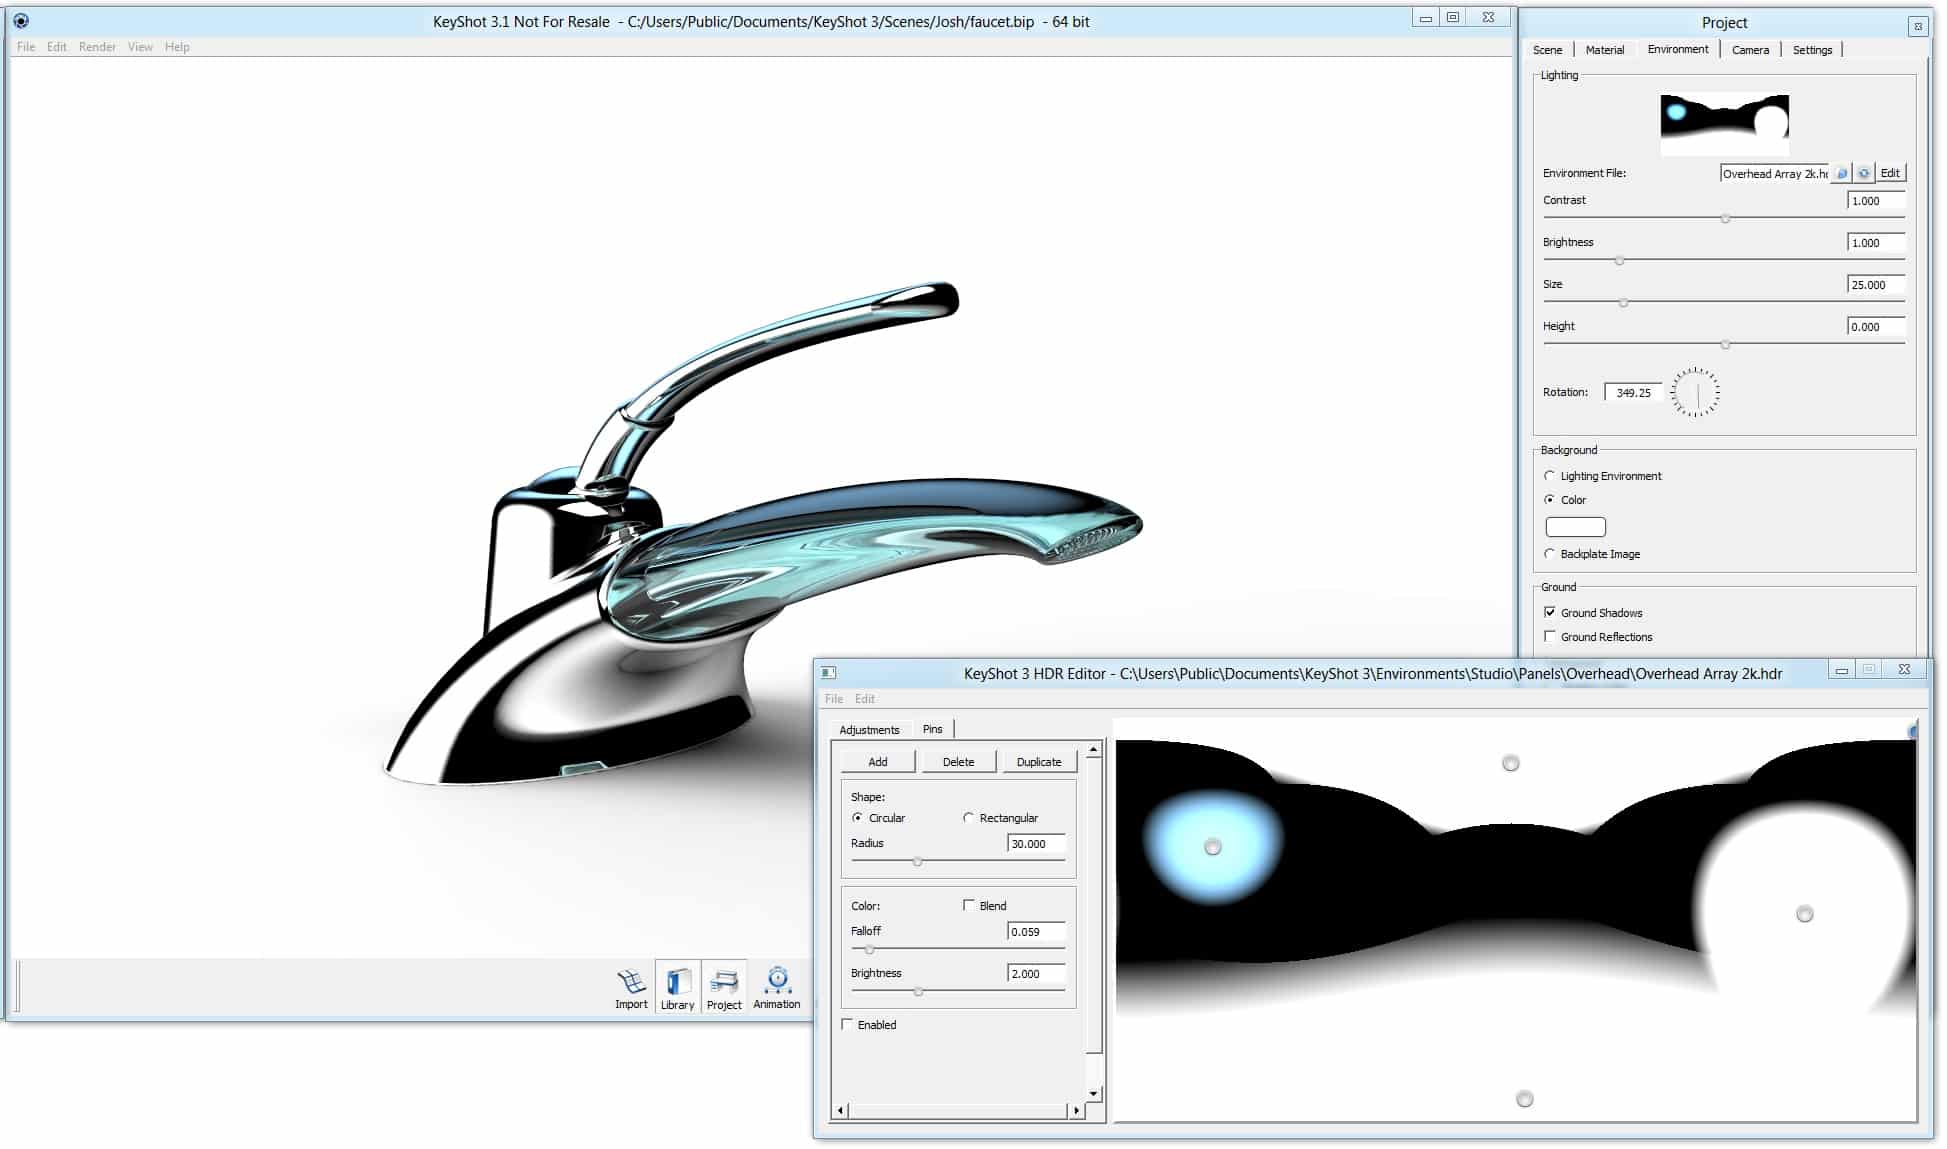
More on the KeyShot Environment Editor
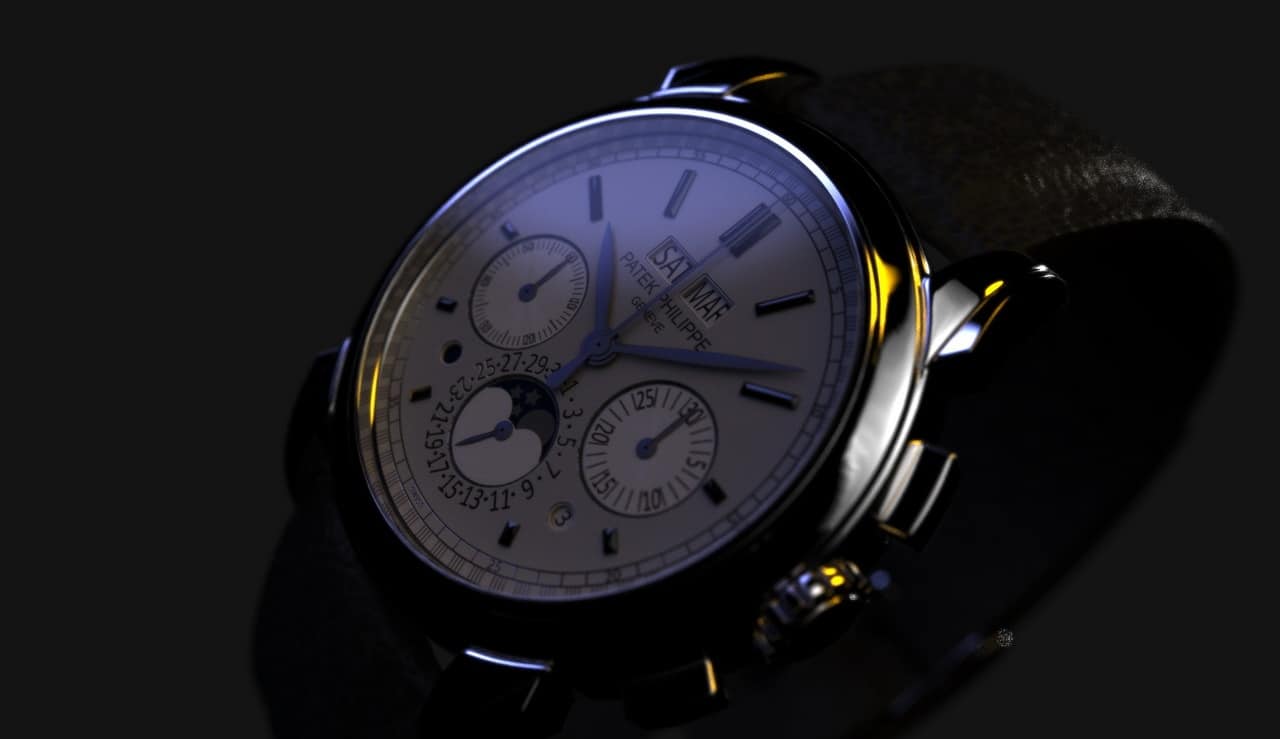
Craig Clark of Scorpio CGI has a great write up on the process he went through with the Realtime Enviroment Editor. Taking a Patek Philippe wristwatch and adding just the right amount of light and color to make it pop off the screen.
Here I have adjusted the underlying HDRI content, toning the brightness down from 1 to 0.25 and upping the contrast from 1 to 1.5 to get more over all effect from the newly added elements.



0 Comments