If you’ve looked around online for textures, you’ve likely come across Poliigon. Their wide array of high quality textures are rich in detail, can be used across different 3D software and come with various map types to get your models looking much more realistic than they would otherwise.
Using Poliigon textures in KeyShot is pretty straitforward, but if you have any questions about how to do it, the team at Poliigon has put together two quick videos to show you how to use them. In a little under 8 minutes, you’ll know which material type to use, where to add the textures and what tweaks to make.
After you have your scene open, the basic process goes like this:
1. Set Part to Advanced Material Type
Double -click the part to bring up the Material properties in the Project window. Then select Advanced from the Material Type drop-down menu. The Advanced material type has all the settings you’ll apply the texture maps to.
2. Load the Textures
After you download the texture from Poliigon and unzip the archive, you’ll load the Poliigon texture maps into the corresponding texture setting. Here’s how the KeyShot texture settings correspond to the Poliigon map types.
KeyShot |
Poliigon |
|---|---|
Diffuse |
Color |
Specular |
Reflection |
Roughness |
Gloss |
Bump |
Normal |
3. Adjust Your Settings
There may be a few settings you need to tweak–selecting UV map type for the Diffuse/Color map, flipping normals or adjusting scale. The texture settings are located in the texture properties of the selected texture. If you have KeyShot Pro, the Material Graph will provide additional capabilities, settings and adjustments. The first video covers how to make those adjustments.
4. Adding Surface Imperfections
Part 2 covers adding surface imperfections. Here you’ll add a new Diffuse material as a label which will act as a layer on top of the base material. A texture map is added as an opacity map to the diffuse label material and adjusted to better show the imperfections.
We have more support for Poliigon textures in KeyShot 7, along with some additional Poliigon textures you’ll be able to access in KeyShot. If you haven’t tried Poliigon textures yet, check them out. You can download free textures or snag a subscription here.
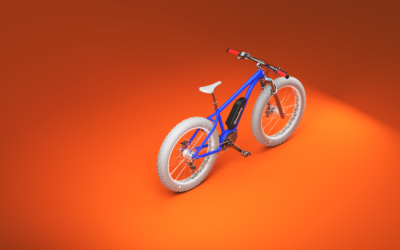
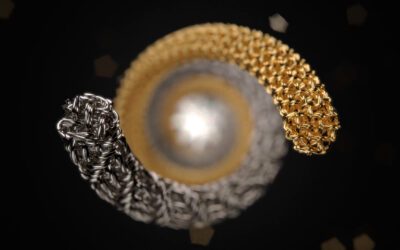
Feature image rendered in KeyShot using Poliigon textures by Denis Zen.


0 Comments