Some of the most captivating 3D renderings I’ve seen are of creatures, humans and characters, but little did I know the extent of how and where they are being used. Anders Rådén is a KeyShot user. He creates some of the most intricate models of insects and animals you will ever see. He’s not creating these for movies, games or television though. Here, Anders tells us about how he is using KeyShot to bring realism to the models he creates and takes us through the simple process he uses to develop absolutely stunning images.
The 3D Rendering Process with Anders Rådén
Anders Rådén is freelance illustrator from Uppsala, Sweden and his line of work is extremely unique. “Most of my commissions have been for museums, zoos and non-governmental organization (NGO’s). Since 2007, I’ve been involved in a large book project aiming to document the entire flora and fauna of Sweden in over 60 volumes. That’s where I started using ZBrush to sculpt different organisms and anatomical details. Eventually, I also discovered the advantage of using KeyShot for the 3D rendering.”
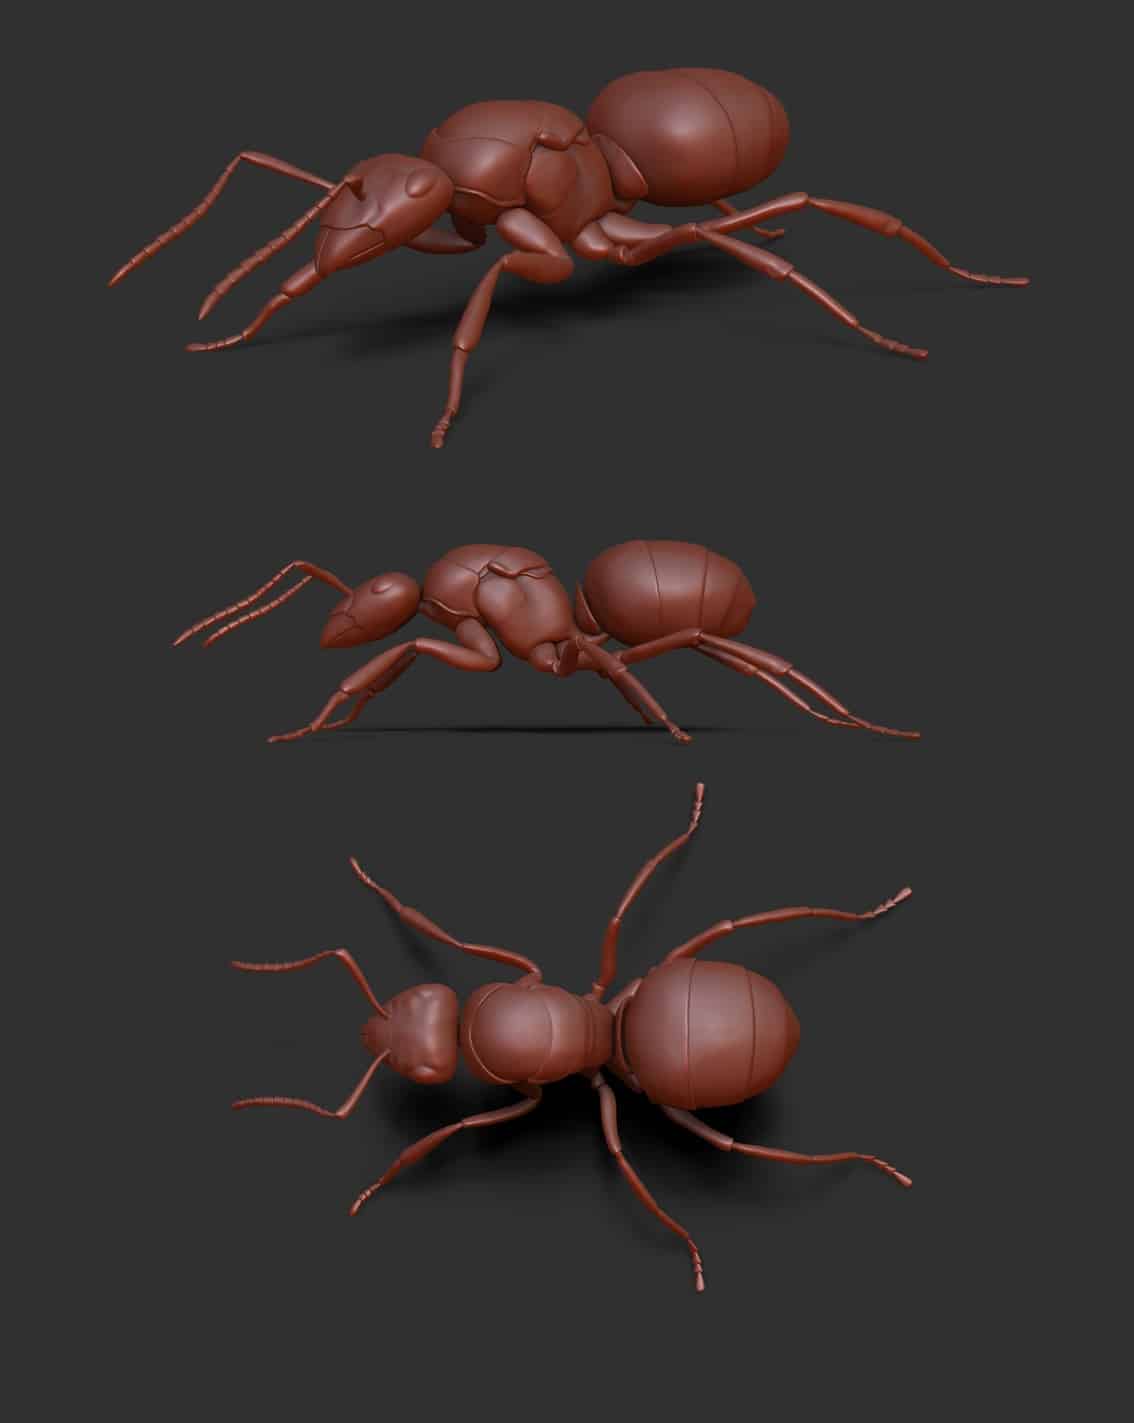
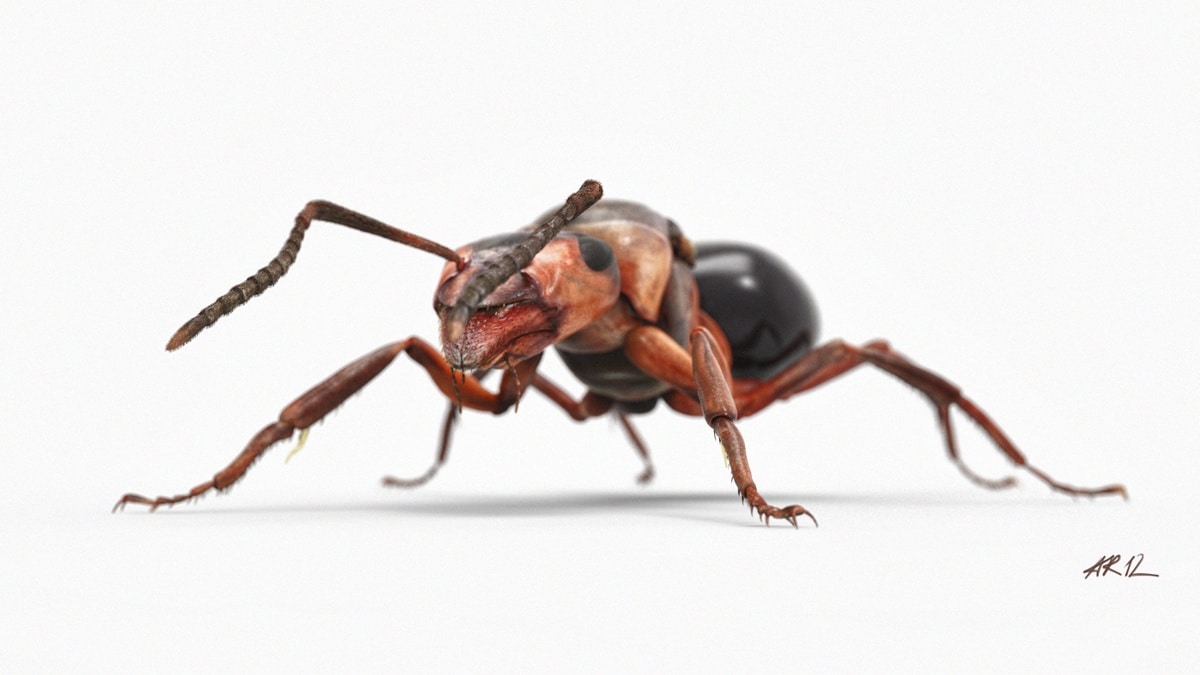
For this ant, Anders begins his process in ZBrush. “I started out with a very basic sculpt of the tiny insect without the details. This is what it looked like at first.”
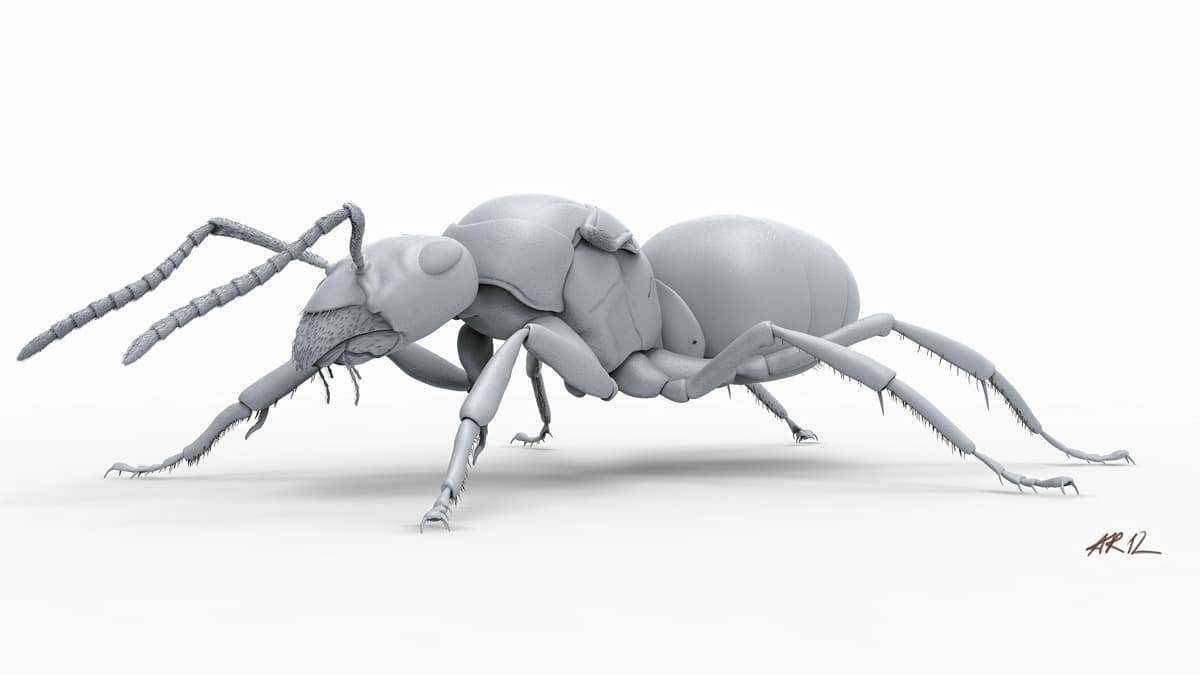
“I had two high-res reference photos of the ant at my disposal, one from the side and one from above. This made the sculpting job a lot easier. Ants have microscopic hairs all over their bodies, and trying to create these in 3D would have taken too much time and effort, so I opted to create only the most obvious hairs (especially on the legs, antennae and hind body) and then let the textures take care of the rest. I also added noise to the surface to mimic the rough texture of the ant body. This is what the final sculpt looked like before adding textures.”
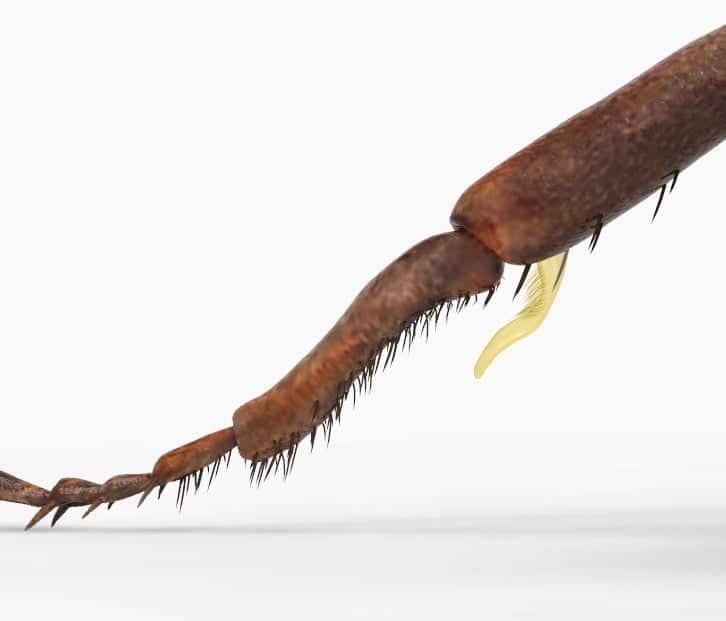
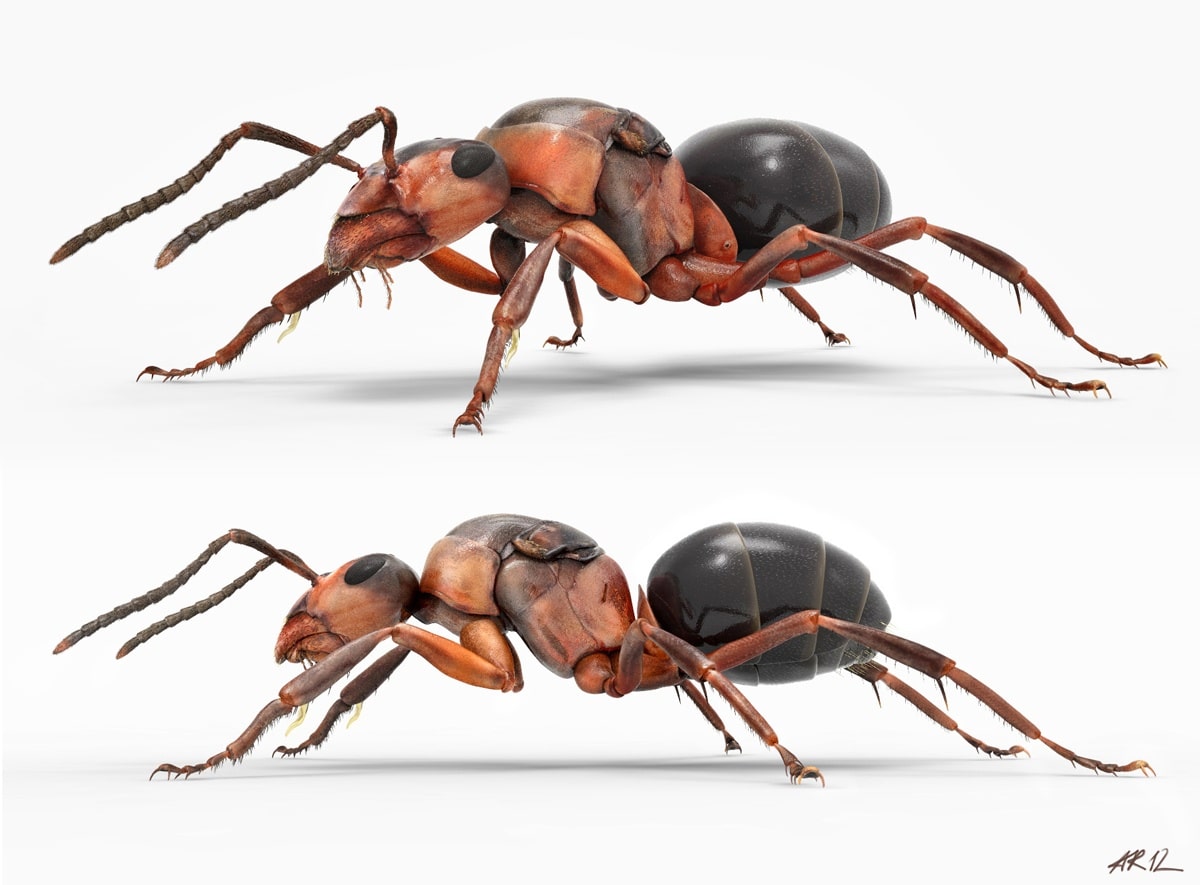
“After creating body textures from the reference photos in Photoshop, I exported the whole sculpt as an .obj file and imported it into KeyShot. I used a translucent material for the eyes and hind body, and the default advanced material for the rest of the body – except for the hairs and the small hanging antennae “combs” on the front legs, where I applied a double-sided glass material with a hint of yellow.”
“I tried at first to render the ant in ZBrush but just couldn’t get it right. The fact that the tweaking possibilities are so numerous and that the rendering doesn’t take place in realtime is very time-consuming. With Keyshot I could just open the sculpt, pick a material, tweak it to my liking and see the result instantly. It really couldn’t be easier! The final rendering only needed a minimal amount of adjusting in Photoshop, and I’m very pleased with the final result.”
“Additional tweaking, especially DOF, creates an even more photorealistic effect, giving an illusion how small the ant is.”
Whether it’s for film or documenting the details of the enviroment, this is a wonderful example of how KeyShot can be used to bring realism to 3D models. We would like to thank Anders for sharing his process and his amazing work as an illustrator documenting the flora and fauna of Sweden.



0 Comments