
Dries Vervoort shared his latest optical simulation experiment on the KeyShot forum this week. He takes the standard ‘Dispersion of Light by Prisms’ example and increases the complexity by several levels of magnitude, demonstrating both the beautiful scenes he creates and the power of KeyShot to simulate accurate caustic dispersion. He has shared both the scene and the setup to show exactly what is happening in the animation you see below. First, the animation…
So, what is happening in that scene? From Dries:
- With regard to objects, there is:
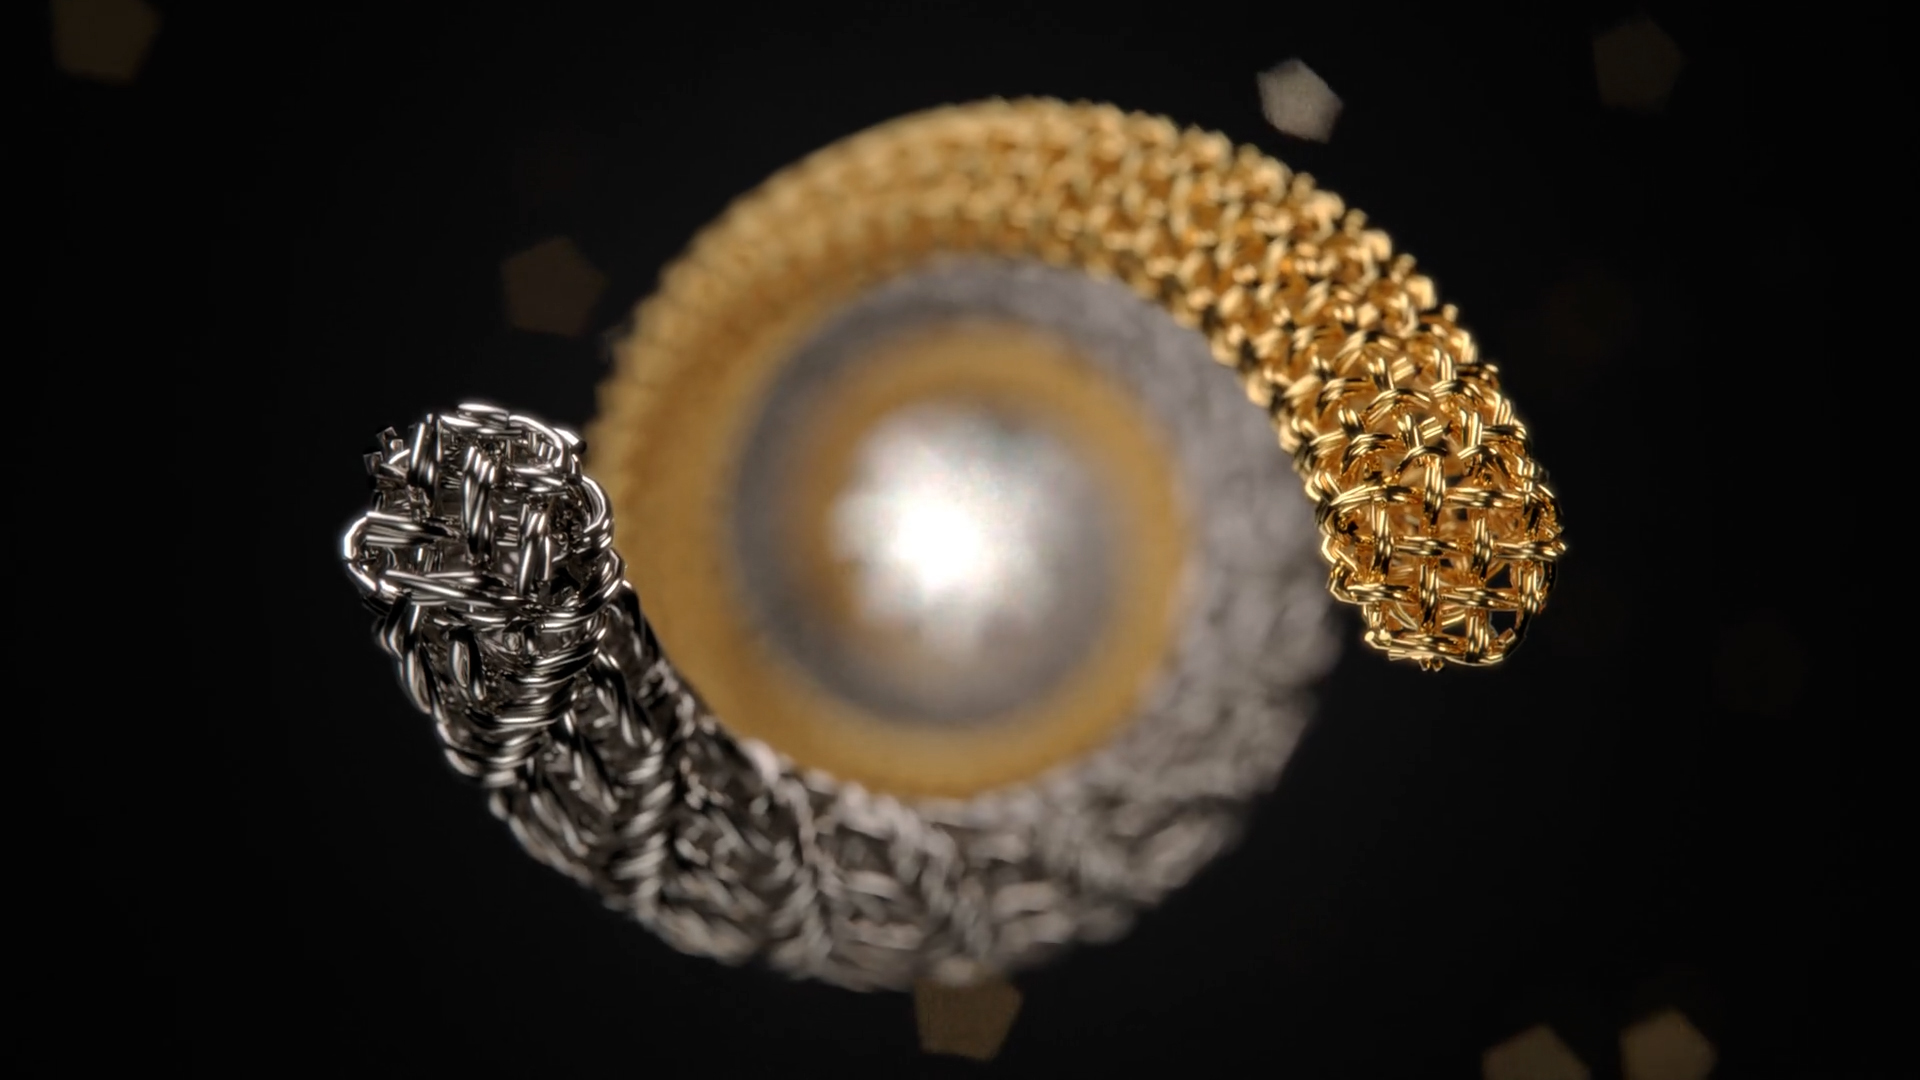
- A large shiny metal ring
- A dispersive prism ’embedded’ inside the large ring
- A small shiny metal ring inside the large ring
- A point light above the ring assembly
- A parabolic reflector spot (shiny colorless metal) with point light in the focal point
- A parabolic reflector focuses the point light photons into a high intensity beam, making for a very efficient light source for crisp caustics. (Much faster and higher quality than any other method I tried.)
- A ground plane to catch caustic patterns
- The parabolic spot is really small (see here). This helps to get extra sharp caustics. A larger spot (and thus wider light beam) will blur out caustics. This can give nice results too, though.
- I put the parabolic spot at a fairly large distance from the prism (mainly to get rid of the ‘light showering’ from the point light as seen in the image). It’s important to keep it above ground and tilted slightly downward. In my scene I set the angle at -0.5°. Putting it level to the ground will not allow caustics to be projected on the ground plane.
- You can play with the X-height of the spot (relative to the prism) and also the position/transformations of the inner ring to get the effect you want.

