
The KeyShot Color Library contains predefined and standard color libraries with an array of colors you can add to any object in your scene. It’s also a place you can create your own custom color library. The Color Library is a part of KeyShot that isn’t the most well known but is capable of greatly boosting your workflow efficiency.
The KeyShot Color Library
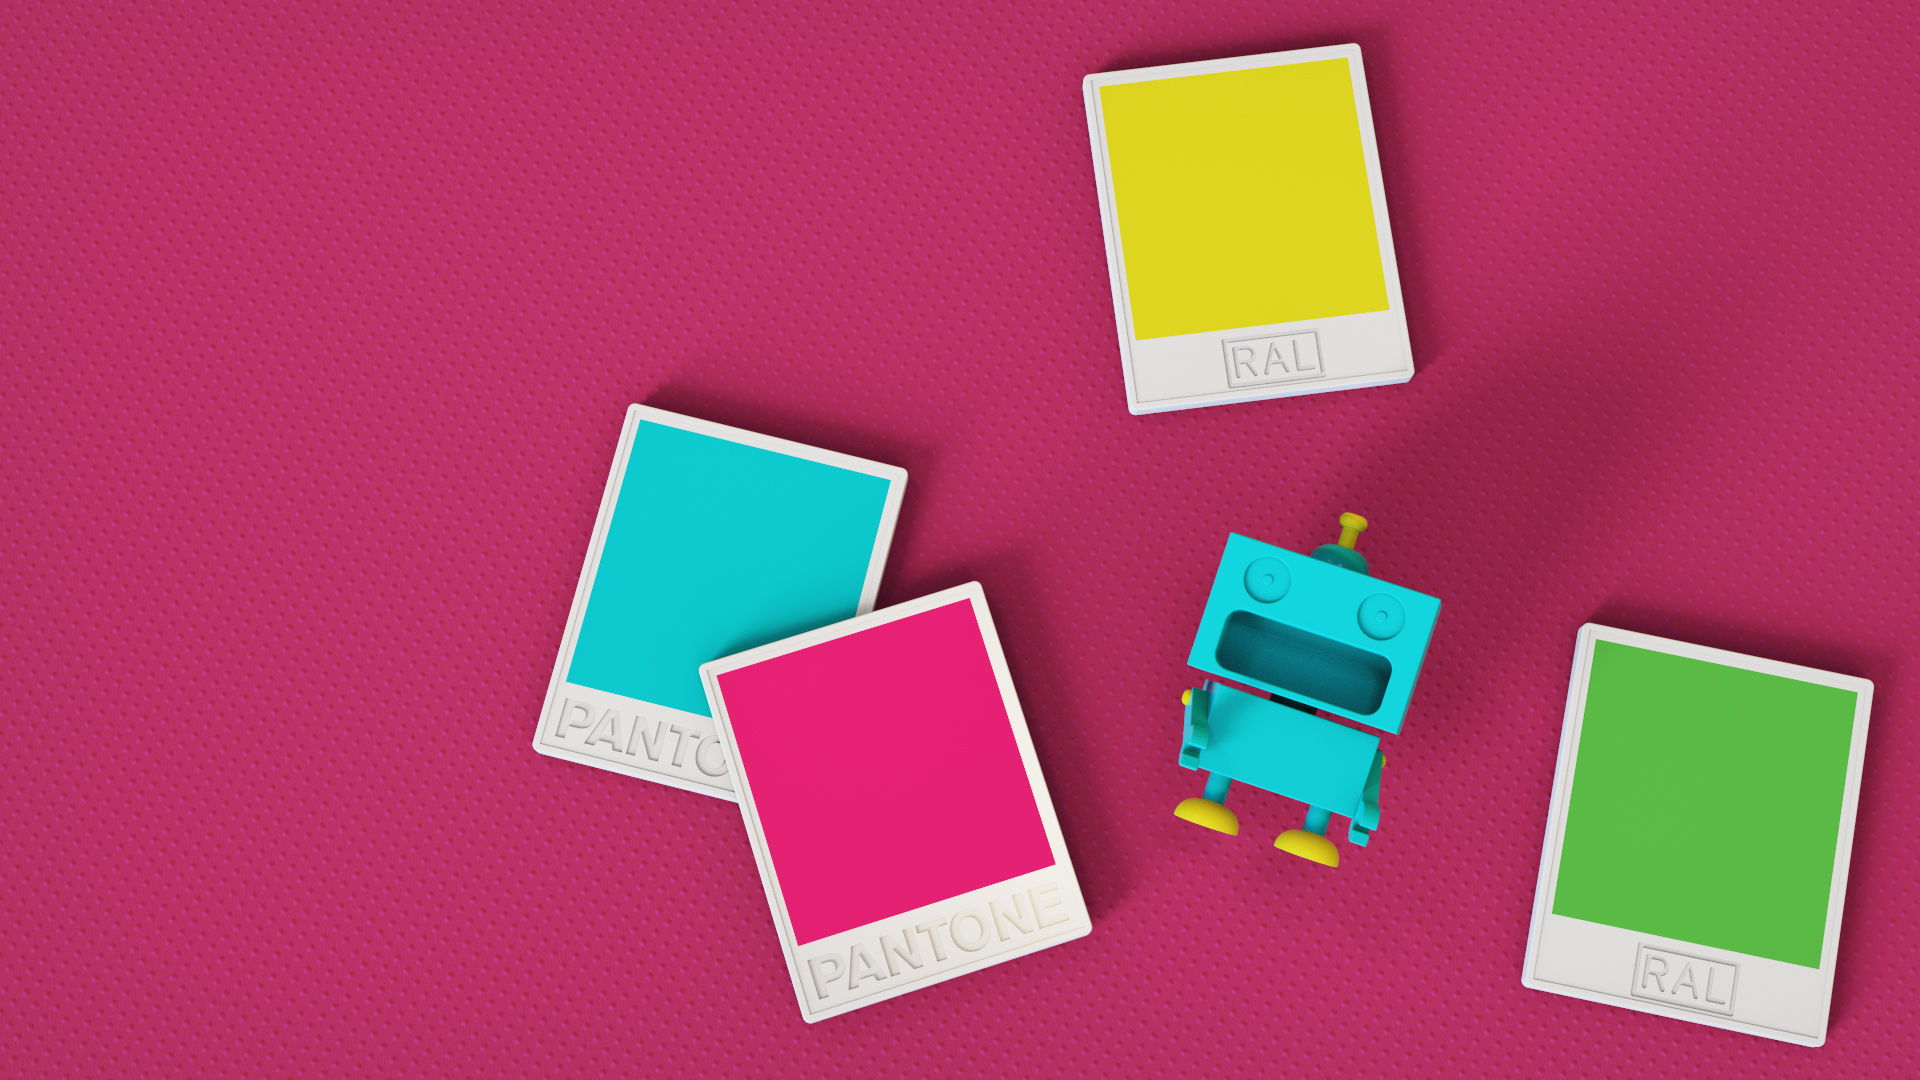
The Color Library (found in the Color tab of the Library window) is useful when you want to quickly change a material color or use a specific color from a standard color library, like RAL or Pantone. This is great for when you need to set up a series of colorways for a design review or create final visuals for product color options. Here we’ll look at three options for using color in KeyShot and walk through each in the video below.
1. Replace a Color
The first feature we’ll look at is the ability to replace the base color of certain KeyShot Material Types without affecting the material itself. From the Color Library, drag and drop any color onto your part in the Real-time View, in the Material list, or in the Scene Tree. The material settings, textures, and labels on your part will not be altered.
Note: If the material doesn’t update, it doesn’t support a color change. You’ll see this for Material Types such as Measured, specialty materials like Axalta Paints, or a material with a color texture assigned.
2. Match a Color
If you have a defined color pallet outside of KeyShot, you can match those colors within KeyShot. First, select a folder to search within. Then, click the crosshair button (next to the Color tab search area) to launch the Color Picker. Choose a color here or select the eye dropper tool to pick a color. This color picker can grab colors from anywhere on your computer screen. Click OK and the selected folder will filter to show the five nearest matching colors.
3. Add a Color
To add colors of your own, create or select a folder in the Color Library. Right click on or within the folder and select Add Color. Use the color picker to select a color you would like to add. Name the color and click OK. The color will be automatically added to the selected folder.
This is only a small taste of how you can use colors in KeyShot to speed your workflow. You can learn more about the Color Library in the KeyShot manual.
What Can You Create?
We would love to see what you create with this tip. Visit the KeyShot Amazing Shots forum to see what others are creating and share your own work. And if you have a suggestion for another tip share it in the comments below.


