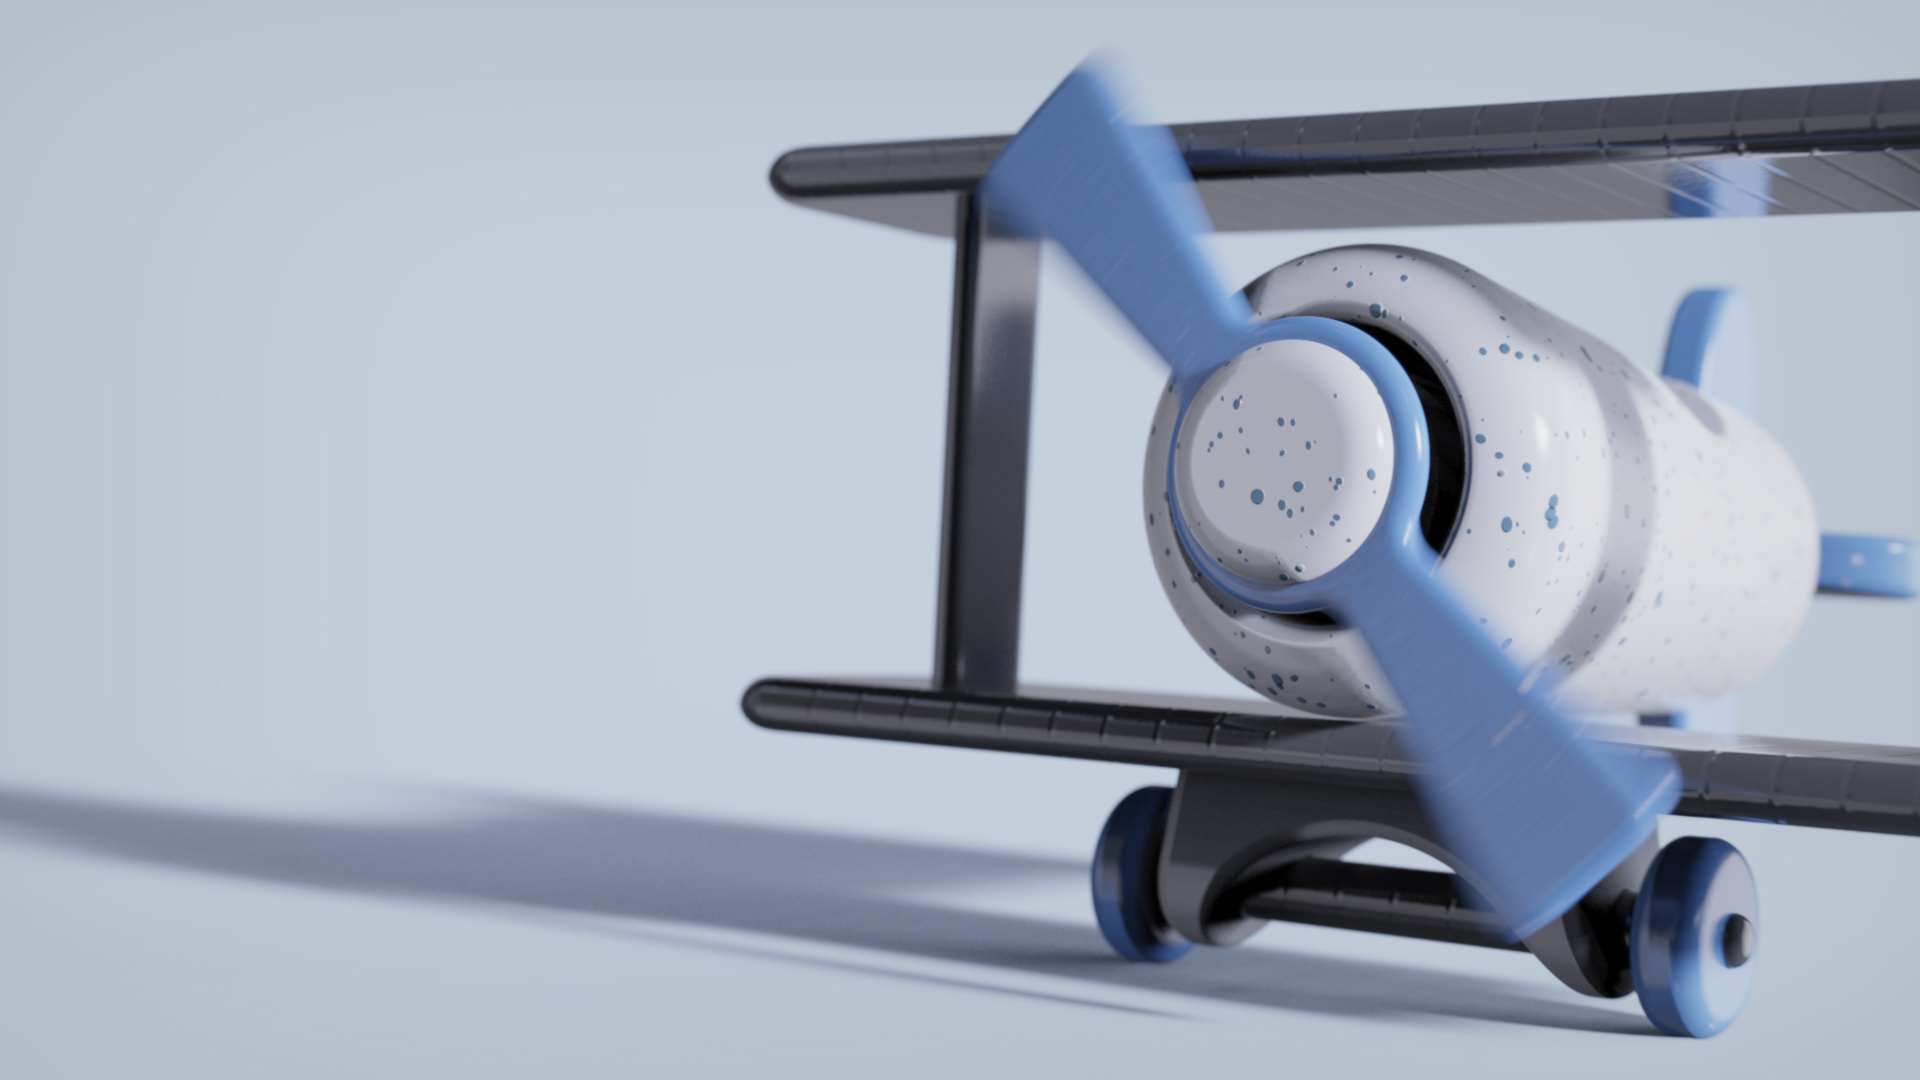
Motion blur is the streak-like effect that occurs when shooting a still image or animation of a moving object. The results are incredibly dynamic, so here, we’ll show you how to use KeyShot Pro to add motion blur to your still images.
Using Motion Blur in KeyShot
Motion blur can be used across a range of applications and often where you might least expect it. Objects that move like wheels, fans, pistons, or falling objects will have motion blur when a still is captured. However, motion can also be used to show other products in motion that wouldn’t normally move but draw the attention with some subtle motion. Here, we’ll apply it to the propeller of a toy airplane.
The Toy Airplane model shown in the video is available for download on KeyShot Cloud.
Where is Motion Blur in KeyShot?
You can find the Motion Blur setting in the Animation Timeline (select Window, Animation on the menu or hit the A-key). You might be familiar with adding motion blur to animations, but you can also use it in still images. The process is pretty much the same. That’s right, you’ll need to create an animation first. If you’ve never created an animation, don’t worry, you’ll have the hang of it by the end of this quick tip.
1. Apply a Rotation Animation
For the toy airplane propeller, we’ll apply a simple rotation animation. Select the Animation Wizard button on the Animation Timeline or right-click the part in the Scene Tree and select Add Animation, Rotation.
2. Enable Motion Blur
Once you have the animation created, click the Motion Blur icon ![]() to enable it. Drag the playback handle back a few frames and you should see a bit of motion blur on your part.
to enable it. Drag the playback handle back a few frames and you should see a bit of motion blur on your part.
3. Adjust Motion Blur
Now, if you want to see more motion blur, you need to go into the rotation animation properties and increase the degree of rotation. When you select the rotation animation, you’ll see the Properties appear to the far right of the Timeline. Expand the Rotation section and adjust the Degrees to a higher setting, like 180. With a higher setting (more rotation) you will see more motion blur since the part has more rotation in the same amount of time.
4. Render Your Image
From here, you can render this as usual, just note that you might need a higher sample count in order to see smooth blending between these frames and this could increase your render time.
If you’re interested in learning more about Animation and Motion Blur in KeyShot visit the Animation Effects section of the KeyShot manual.
What Can You Create?
We would love to see what you create with this tip. Visit the KeyShot Amazing Shots forum to see what others are creating and share your own work. And if you have a suggestion for another tip share it in the comments below.


